Showing posts with label Easy projects. Show all posts

Wednesday, November 28, 2012

Joy Sign


Lately I've been hearing the word "joy" a lot. I'm not really sure why, but I've always just associated joy with Christmas. Joy is something that we should be experiencing on a daily basis, though. Yes, we should be filled with joy around Christmas as we celebrate the birth of Jesus, but shouldn't we also be filled with joy each day as we celebrate all of the simple gifts God has blessed us with? Just waking up in the morning should fill us with joy, although I know my mornings generally do not reflect that my heart is filled with joy. I wanted to make a sign for my Christmas mantle and I thought that seeing "JOY" every day might remind me to stop letting earthly things get in the way of my joy. A little JOY for my home...


What you'll need:
- 3-D wooden letters (Hobby Lobby)
- Paint
- Mod Podge (or a 50/50 mix of Elmer's and water)
- Paint Brush
- Scrapbook Paper
- Pencil
- Scissors

How to:
1. Paint the edges of the letters, let dry. I did two coats on mine to get a rich color.


2. Lay the letter face down on the wrong side of a piece of scrapbook paper. Trace around the inner-most part of the letter. (I used 3-D letters from Hobby Lobby so mine had a carved edge and a smaller "face" for the front of the letter than the whole piece itself.)


3. Cut out the letter from the paper.
4. Slather some decoupage on back of the paper then carefully lay it onto the face of the letter. Slather the top of the paper with decoupage too.


Tuesday, August 7, 2012

Felt Flowers

As promised a few months ago (yes, I know, but my life has been anything but tame lately), here's the tutorial for making felt flowers. 

Felt Flowers
Materials:
- Felt
- Scissors
- Hot glue

1. Cut out 4 of the same shaped flowers, about 1" diameter each. I apologize that I don't have a template to share, but I do most of my shapes freehand.


2. Place a dot of glue into the center of a flower and fold it in half. Do this for all 4 flowers.


3. Lay one flower with the flat side pointing down, then place a dot of glue on the flat edge, in the center. Lay another flower down, flat side facing to the left, flowered part facing right and overlapping with the first flower. Place another dot of glue on top of where the flowers overlap, then place the third flower over top of the glue, with the flat side facing up, flower side down. Place another dot of glue in the center and place the last flower on top of the third flower. Tuck the top end underneath of the first flower. It should look like a closed box lid.
(Terrible pic, I'll take a better one next time I make some!)

4. Fluff out the petals from the center after the glue dries. If you're adding a hair clip or sewing the flower onto a headband, now is the time to do it!


The possibilities for these super easy flowers are endless! I grouped some together to make a patriotic headband for baby bear!


Monday, July 9, 2012

Gathered Flower Headband

My little Baby Bear is almost a year old, but still doesn't have very much hair. She recently got a new wardrobe (seriously, this girl literally outgrew everything in her closet), so obviously she needed some new hair accessories to match her summery attire. To be fair, I may or may not have been bored this afternoon as well. This is my new flower type and probably my favorite so far. Hope you enjoy it too!


Gathered Flower Headband
Materials:
- Strip of fabric, 2" by 15" (or wider than 2" if you want to make a bigger flower)
- Needle and thread
- Elastic cut to about 1/2" smaller than head circumference
- Button

1. Run a stitch down one side of the fabric.

2. When you reach the end, pull the thread to "cinch" the fabric up. 
3. Twist the cinched fabric to make a flower shape, secure with needle and thread.
4. Sew button into the middle of the fabric.
5. Sew the ends of the elastic together, overlapping about 1/4" then sew the elastic onto the back of the flower. 


Tuesday, June 5, 2012

Menu Board

In my meal planning frenzy, I've been printing off a weekly menu to hang on my fridge and keep me on track. Printing a new one every week seems so wasteful, even though it get recycled. Luckily, I had an old picture frame hanging around the house to repurpose into a menu board! Did you know that you can write on glass with a wipe-off marker and it comes right off?!


Menu Board
Materials:
- Picture frame
- Staple gun
- Ribbon
- Fabric Glue
- Days of the Week printout

Print Out:
1. Open Microsoft Word.
2. Draw a table 8" wide and 10" high with 7 rows, 1 column.
3. Make each row 1.3" high.
4. Type on day of the week on each line. I started with Sunday since that's how I do my menu.
5. Choose a great font, make it size 72 and print that bad boy out.
6. Cut the paper down to 8" x 10" size - cut around the outside of the table.

Board:
1. Measure out 3 feet of ribbon. Tie a bow directly in the middle, insert fabric glue into the knot and pull the knot part tight.
2. Place the frame on the floor/table, front facing down.
3. Place the ribbon ends on the corners of the back of the frame, fold each end over onto itself once or twice, and staple into place.
4. Remove back panel from frame, set the print out face down on the glass, then replace the back panel.


5. Find a convenient spot to hang the menu board in your kitchen and write out your week's dinner menu!


This is a QUICK project, literally took me all of 5 minutes! I'm sure hubby will love the pink ribbon too! :)

Monday, May 14, 2012

Coffee Cup Coozie

I saw this project idea on Pinterest and couldn't resist making my own version of it. I always recycle my coffee cup coozies after my coffeeStarbuck's beverage has been consumed, but having a reusable one, made from materials that I already have, seemed like a no-brainer. Reducing and reusing, while still feeding my coffee habit. These work great for hot and cold bevs! Store it in your car and you'll always be prepared for a caffeine fix.


Reusable Coffee Coozie
Materials:
- hair elastic
- large button
- cotton fabric (5" x 10")
- flannel fabric (5" x 10")
- pellon (4" x 9")
- marker
- cardboard coozie (to trace)
- iron
- scissors
- needle and thread or sewing machine


1. Lay cotton and flannel fabric out, printed side down. Break the seam on the cardboard coozie carefully, making sure not to rip it. Trace the cardboard coozie onto the fabric, adding about 1/4 inch extra around all sides. Cut it out. 


2. Trace the cardboard coozie onto the pellon, then cut it out. 


3. Lay the flannel down, place the pellon on top of it, then the cotton fabric on top of the pellon. Run the iron over the top until the pellon has fused to the fabric, then flip it over carefully and iron the flannel side as well. 


4. Zig-zag stitch hair elastic together in the center so that each end is in a loop. cup one of the loops off. Place the stitched end in between the fabric on one of the short sides so it is hidden, but the loop in hanging out. 


5. Fold the edges of the cotton and flannel in so that the rough edges are hidden. Sew them together all of the way around, sewing over the side with the elastic loop an extra time to secure it. 


6. Bend the coozie into a circle and overlap the edges by about 1/4-1/2 inch. Mark where the elastic reaches to without stretching with a sharpie. Sew the button on that dot. 


7. Enjoy a delish hot beverage from your favorite coffee shop with your new, stylish coozie.


Thursday, May 3, 2012

Fabric Bin

I was doing laundry the other day and managed to knock one of the many random things that have found their way onto the top of my washer behind it. Our laundry room is the walkway into the garage, so the washer has become home to everything and anything that would go from garage to house and back. After spending 5 minutes reaching behind the washer to retrieve it and being terrified of what kind of pest was going to jump out at me (unfortunately we have more than just dust bunnies lurking in dark places), I decided that this scenario didn't need to be repeated. Luckily, I had a shoe box and a fat quarter of fabric hanging around to make a fabric bin to wrangle all of the random stuff that finds its way onto the washer. This literally took me five minutes to make and is a great organizational tool!

DIY Fabric Bin
Materials:
- shoe box
- hot glue
- fabric (I used a fat quarter because it was the right size for my box)
- scissors, if you need to cut the fabric


Directions:
1. Remove the lid from the shoe box. If lid is attached like mine was, cut the lid and any other flaps off.


2. Lay the fabric out, printed side facing down. Set the box in the middle of it and test folding the fabric up the sides to make sure there will be enough and that the box is positioned correctly. 


3. Spread hot glue on the bottom of the box and carefully smooth the fabric over it. Spread glue on one side of the box, then  pull the fabric up over it, smoothing out any wrinkles. Repeat for all four sides. There should be some overlap to go into the box, glue that down inside of the box, one side at a time.


Ta-da!


Sunday, April 29, 2012

T-Shirt Dog Toy

My dog is a little ball of energy and personality. Actually, I'm not even sure that he is a dog some days. He's destroyed pretty much all of his toys except for the ones that can be used to play fetch with (convenient for him, since he's a fetch robot!). I refuse to buy him more chew toys since he ruins them in the first 5 minutes of ownership, so I thought that I would give making him one from a t-shirt a try. He's been chewing on it for the last little while, so I'd call it a win.


Recycled T-shirt Dog Toy
Materials:
- Scissors
- Old t-shirt (you could use one, or a few for different colors)
- Knot tying abilities

Directions:
1. Cut the old t-shirt into 1 inch think strips. I cut mine across from side to side. You'll want to cut at least 8 strips, but more than 8 would definitely make the toy better!

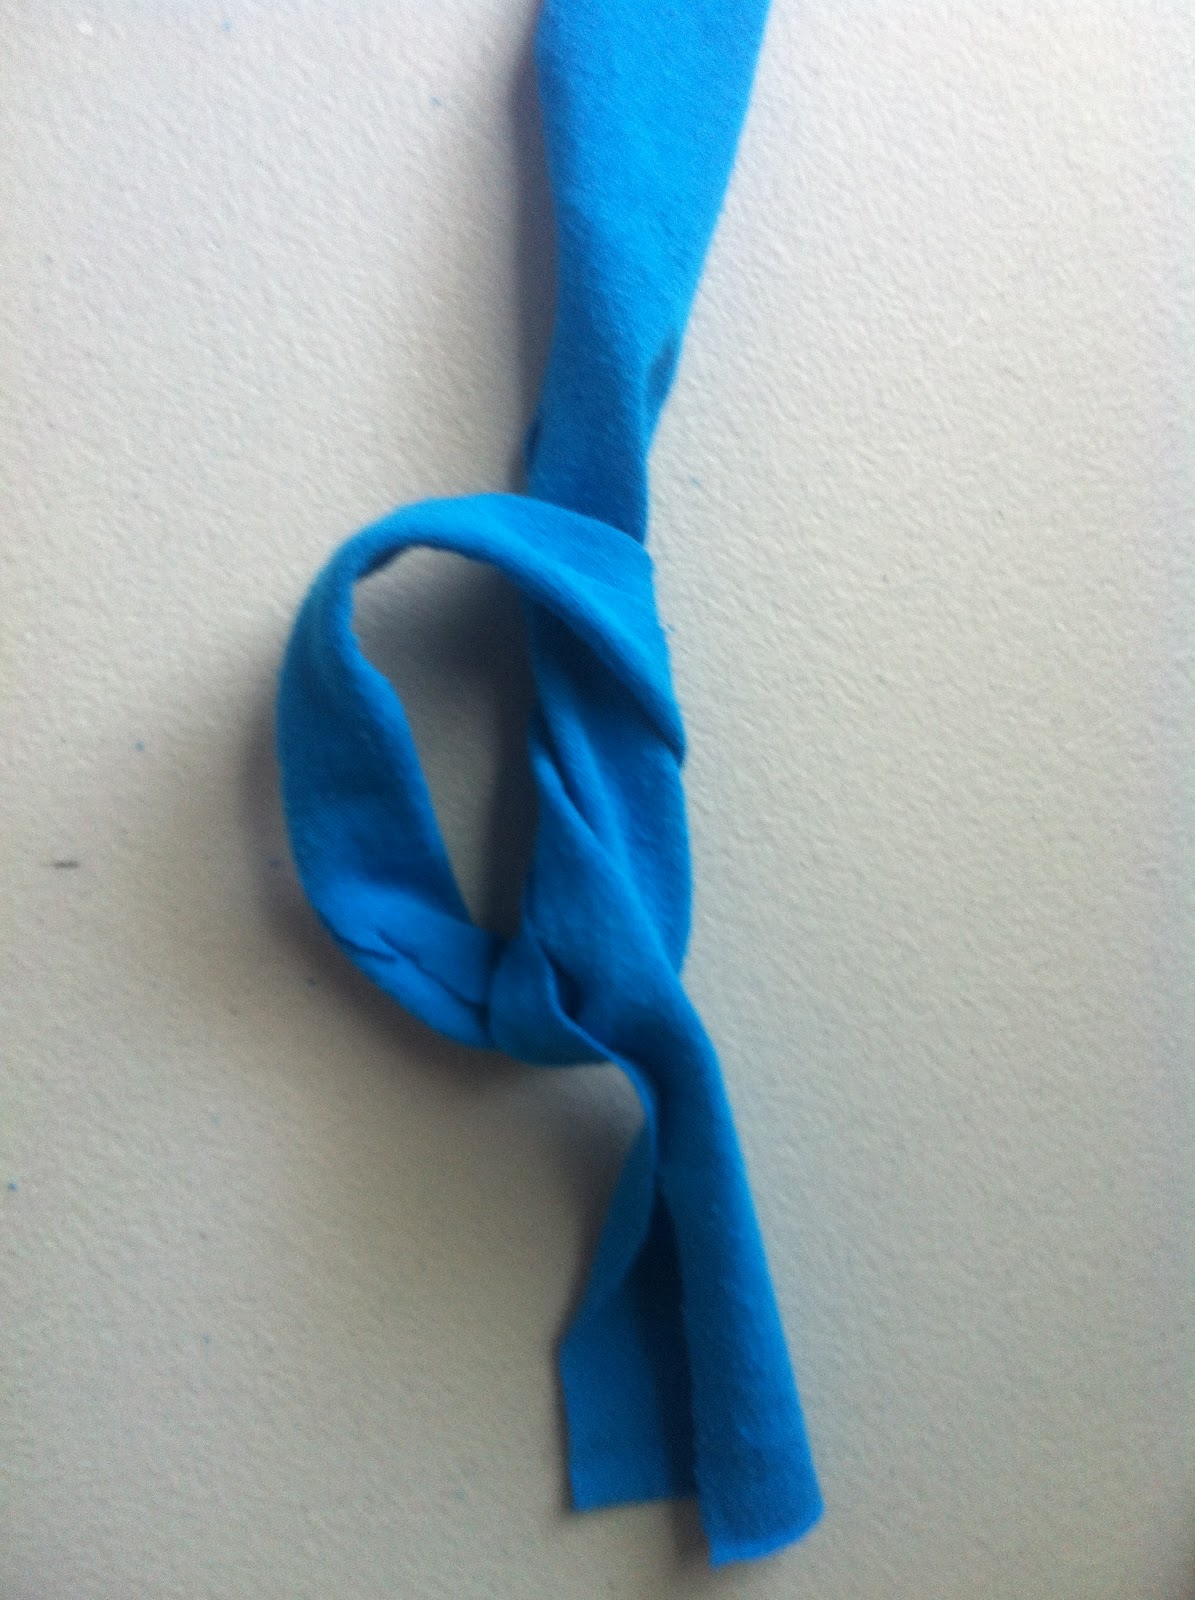
2. Take one strip, make it into a loop and tie a knot in it, leaving the loop.

3. Feed another strip through the loop from step 2, then tie it in a knot to secure it. 

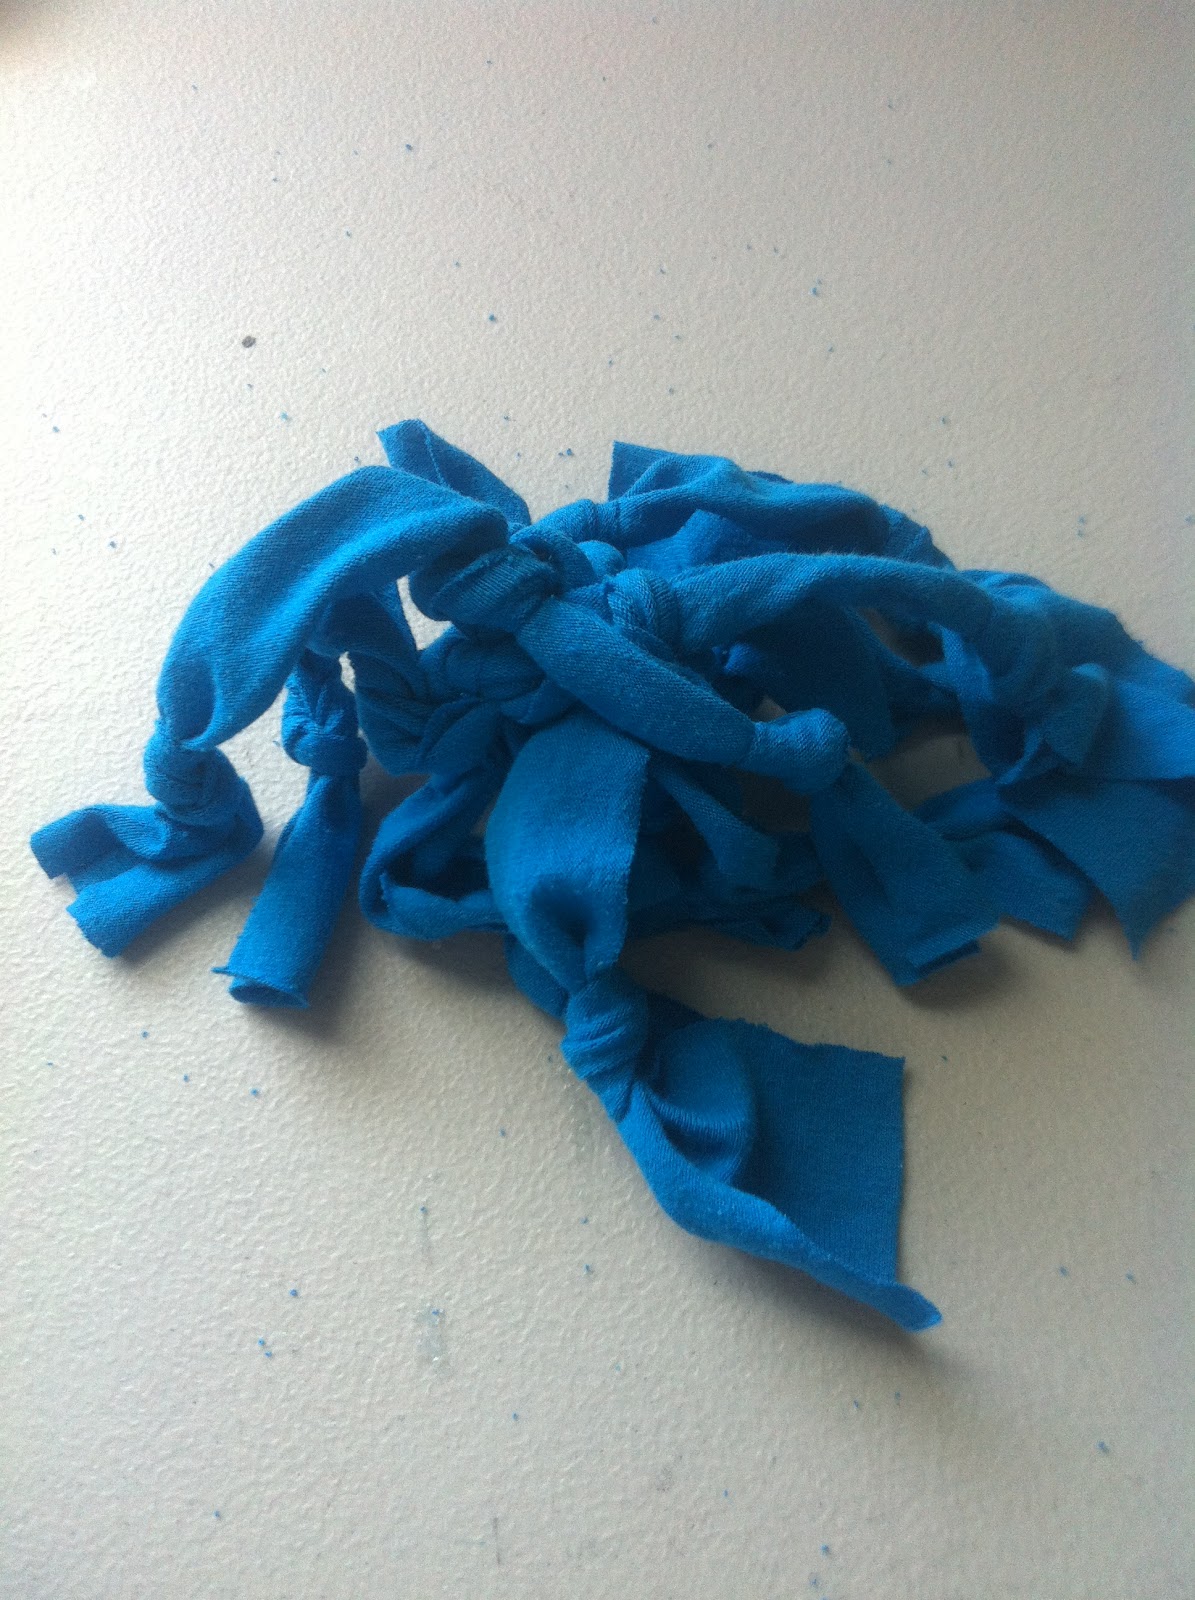
4. Feed the rest of the strips, one at a time, through the original loop, then tie a knot in each to secure it to the rest. It should kind of look like a ball where the knots are, with lots of tails hanging off. 

5. Tie a knot in each of the "tails." Dogs like to chew on knots, it's science. Well not really, but it will add interest to the toy. 

6. Give the toy to your dog and let it go to town chewing! 


This toy doesn't have an adorable face to rip off, but it serves it purpose. If your animal is anything like mine, this is a great alternative to a rope, which they eat the string out of and risk causing serious digestive track injuries. The best part, it's free. Who doesn't love a free dog toy?

Wednesday, April 18, 2012

Recycled T-Shirt Beach Bag

I love going to the beach. Now that we live super close to a gorgeous beach, I plan on taking advantage of the sandy goodness. I have a whole slew of bags to choose from to take to the beach, but all of them are a pain in the behind to wash and trap sand in seams and pockets. It's frustrating, so I decided that it was time for something that can be tossed in the wash with beach towels and will actually come out CLEAN. T-shirts are so versatile when it comes to reusing them, and since they are washing machine friendly, an old t-shirt was the perfect material for my super easy project. Actually, choosing which old t-shirt to use was the hardest part.


Recycled T-Shirt Beach Bag
Materials:
- Old t-shirt
- Scissors
- Something round and about 10" in diameter
- Needle and thread

Instructions:
1. Lay t-shirt out flat on a table. Cut the sleeves off, leaving the seam attached to the shirt.


2. Place the "something round" (I used a mixing bowl) over the head hole so that about 3/4 of the something round is on the shirt.  Cut around the something round. This is the opening of the bag.


3. Turn the t-shirt inside out and match up the bottom hems. Sew the bottoms together along the existing seam. If doing this by hand, you probably want to back stitch it twice, if by machine go over it twice to reinforce it. 


4. Turn the shirt right side out and your bag is done!

This bag is washable, versatile, recycled, and can increase the life of a worn out but special t-shirt! I'll probably also use this bag at the farmer's market since it is much easier to wash than my reusable grocery bags. 

Monday, April 16, 2012

Felt Birthday Banner

Baby Bear doesn't turn one for a few more months, but I loved this project idea and wanted to get a head start on it. If you are a Pinterester, you've probably seen a bunch of bunting ideas. I really like bunting, but I don't have anywhere to put it, so this birthday banner seemed liked a great outlet for my crafting bug. I used leftover felt from the quiet book project and some leftover ribbon from hair bows. The genius hubster suggested that I put velcro on the letters so that they can be removed and I can make more letters to spell out other things if I want. There are 14 flags, so anything that is 14 letters or less can be made too!


Felt Birthday Banner
Materials:
- Felt (I used scraps that were the equivalent of about 10 full sheets of felt)
- 10 ft piece of ribbon
- Tacky glue
- Velcro
- Scissors
- Ruler
- Fabric marker
- Stop Fray (optional)


Instructions:
1. Measure and cut out triangles out of the felt that are 6 inches wide at the base and 9 inches long. I measured a straight line from the center of the base to 9 inches (the point of the triangle), marked the point, then drew the sides with the ruler. Cut out 14 of these triangles, any colors you desire.


2. Lay the triangles out in a line, points down, corners overlapping about 1/4-1/2 inch. Sew the corners of each triangle to the triangle next to it. You should have a long banner of connected triangles when you are done with this step.


3. Turn a piece of 10 ft. ribbon over so that the printed or decorated "front" side is facing down. Carefully spread about 6 inches of glue on the backside of the ribbon, then lay the first triangle base onto it, pressing down and smoothing out gently. Leave about 1/8 inch space between the base of the triangle and the edge of the ribbon at the top so that the felt won't show over the top of the ribbon. Repeat this until all of the triangles are attached to the ribbon. Let dry for at least an hour. This is also a good time to treat the ends of the ribbon with Stop Fray so that they won't fray over time. 

4. Cut 13 3" x 4" rectangles out of black felt (or whatever color you choose). Cut the letters for "Happy Birthday" out of the rectangles, one letter per rectangle. 

5. Turn the dry banner over and attach velcro to the back of the letters, then stick the letters onto the triangles to spell out the words, leaving one triangle empty in between "Happy" and "Birthday". 

6. Tie bows in the leftover ribbon ends if desired. 


Monday, March 26, 2012

Whimsical Jellyfish Softies

Pinterest strikes again... I saw this idea on Pinterest, but it is absolutely perfect for my baby bear! We have turned our formal dining room into a playroom with the idea that this space is a safe and inviting place for the baby to crawl around and explore. I've been struggling to come up with ideas of how to decorate the space and make it a more friendly area. Baby bear loves sea creatures, so this project seemed like the perfect solution!


Jellyfish Softies
Materials:
- Fabric Scraps (or if you are like me and don't have a stash, fat quarters work great!)
- Ric Rac
-Ribbon (at least 3 different types),  30 inches each piece
- Needle and thread or sewing machine
- Stuffing
- Something circular to use as a patter, about 5-6 inches in diameter, depending on what size you want to make


How To:
1. Trace two circles onto a piece of fabric and cut them out.


2. Cut a piece of ric rac about 24 inches long and find the middle.
3. Using the front side of the fabric, find the middle of the circle and sew the ric rac on from it's middle to the middle of the fabric circle.
4. Cut 2-3 pieces of ribbon to about 30 inches, find the middle of each piece, then sew onto the fabric circle in the same place as the ric rac.


5. Place the ribbon adorned fabric circle ribbon side up on a flat surface. Place the other fabric circle printed/front side down on top of the ribbon, matching up the edges. Gather the ribbon ends to one side and pin the fabric together, leaving an opening for the ribbon to stick out.


6. Sew the fabric circles together along the edges. If you are doing this by hand, be sure to back stitch and use small stitches!
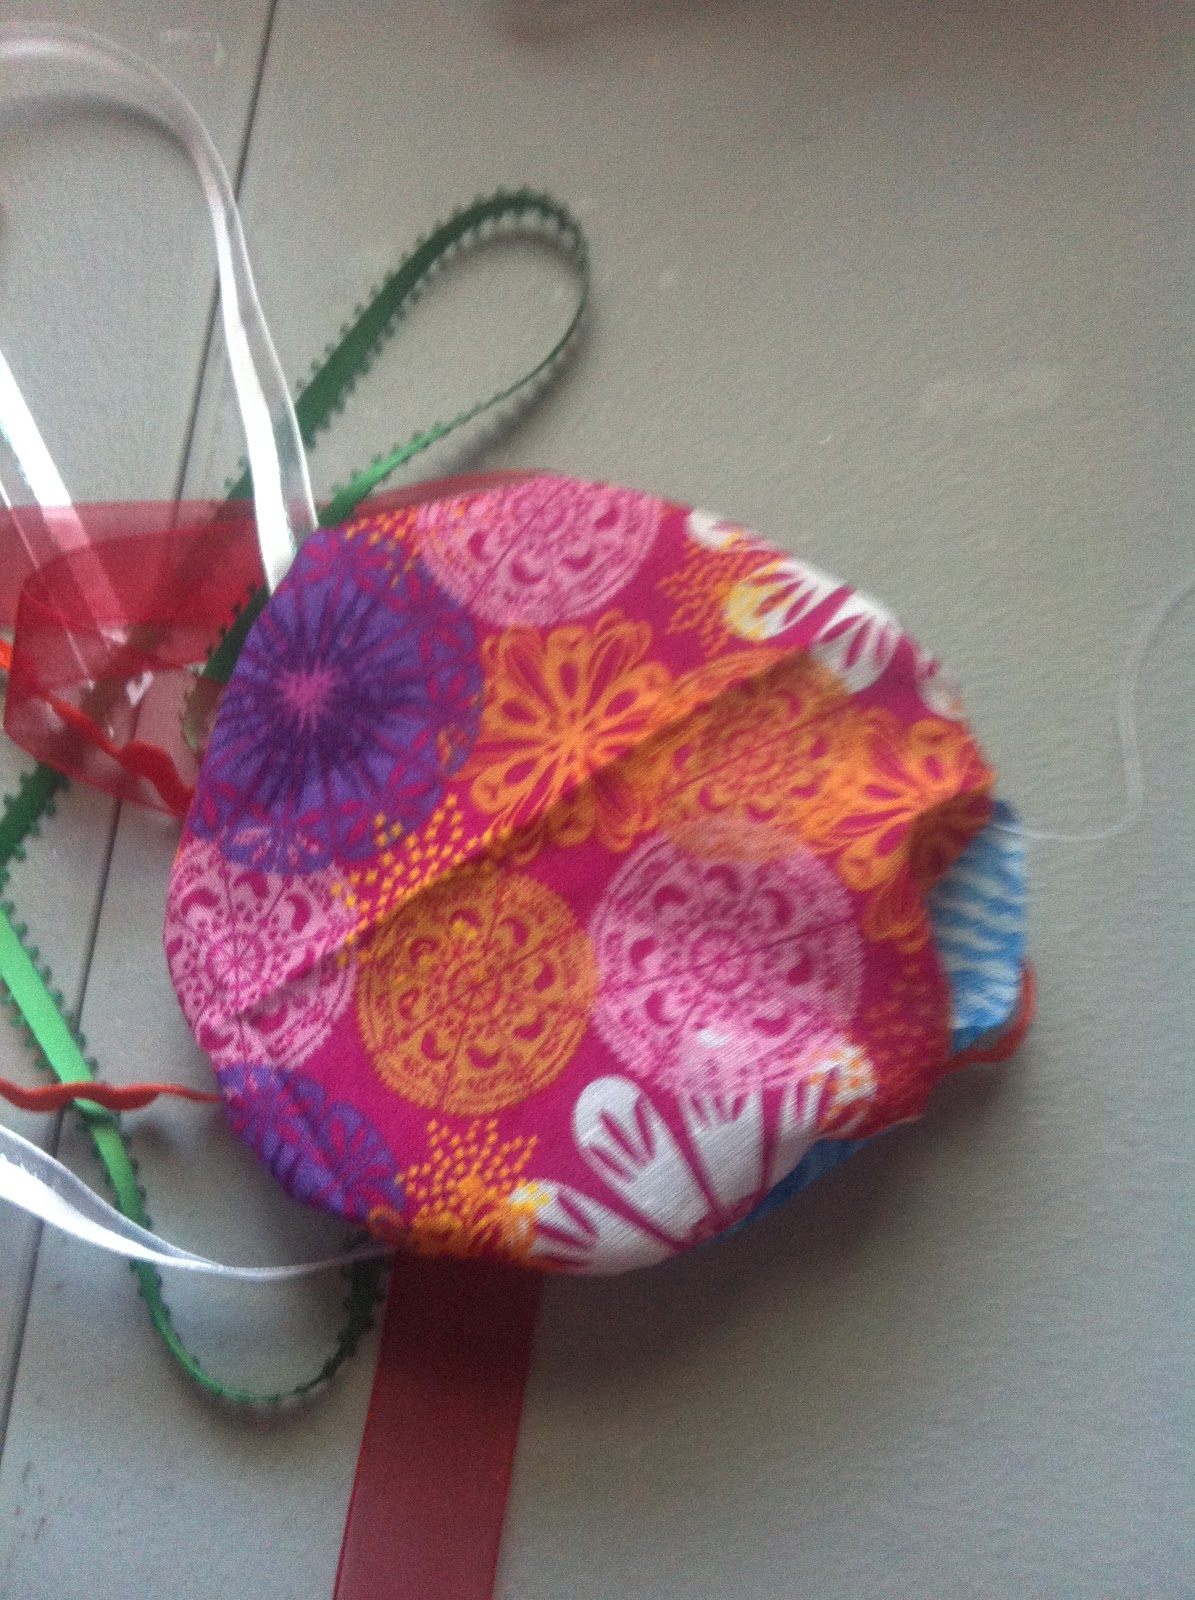
7. Sew around the circles, until you are to the ribbon. Turn the fabric inside out by putting all of the fabric through the hole with the ribbons. The printed side of both pieces of fabric should be showing after you do this, and the ribbons should be hanging freely from the bottom of the pouch.


8. Place stuffing into the pouch, stuffing it full so it is a nice hamburger shape.


9. Sew the open area of the pouch shut.


10. Cut another piece of ribbon to desired length for a hanger, if necessary. Sew this piece of ribbon onto the middle of the top of the jellyfish.


Easy enough? I plan on making a few more of these so Baby Bear has a whole school of jellies to look at :)