Showing posts with label Christmas. Show all posts

Tuesday, December 11, 2012

Cone Christmas Tree Made From Recycled Cardboard

If any of you use Pinterest, you've probably seen the super adorable cone Christmas trees all over it. I saw some last year and thought they were neat, but after looking at the cardboard cones at Hobby Lobby and seeing that they're kind of expensive for this project, I decided that if I wanted to make a cone tree, I better figure out how to make my own cone to use. Luckily I had some practice making cones (I'll post the project later) for baby bear's first birthday party hats. Being an avid recycler and tree-hugger, I have a bunch of boxboard hanging around in "limbo," waiting to be taken to the recycling center. Bam. Free cone. Here's the scoop:

What you'll need:
- Cardboard (I used a cereal box and got a 12" tree, so bigger box if you want a larger tree, smaller box for a smaller tree)
- Yarn/twine/something in the string family
- Modpodge
- Scissors
- Elmer's glue
- Paper clip/Binder clip

How to:
1. Cut open your box so it lays completely flat.

2. Cut off all of the little tab edges so you have a clean rectangle.


3. Fold two of the corners toward each other, keeping the printed side of the box to the inside and roll the rectangle into a cone. 


4. Unless you're an origami genius, you probably have a tail on the bottom of your cone like I ended up with. Cut that tail off and cut around the base of the cone so that you have an even base. 


5. Using your binder clip or heavy duty paper clip, secure the cone. Spread some glue into the seam, covering the whole height of the cone, and let it dry. 


6. Spread some modpodge around the base of the cone and start wrapping your spring around, pressing it into the modpodge and making sure that the edges of the string are touching with each layer you add. Keep adding modpodge and string until the entire cone has been wrapped.

7. Cut the string from the ball/spool about 4" from where it ends on the cone to leave a tail. Put the tail through the little opening at the top.
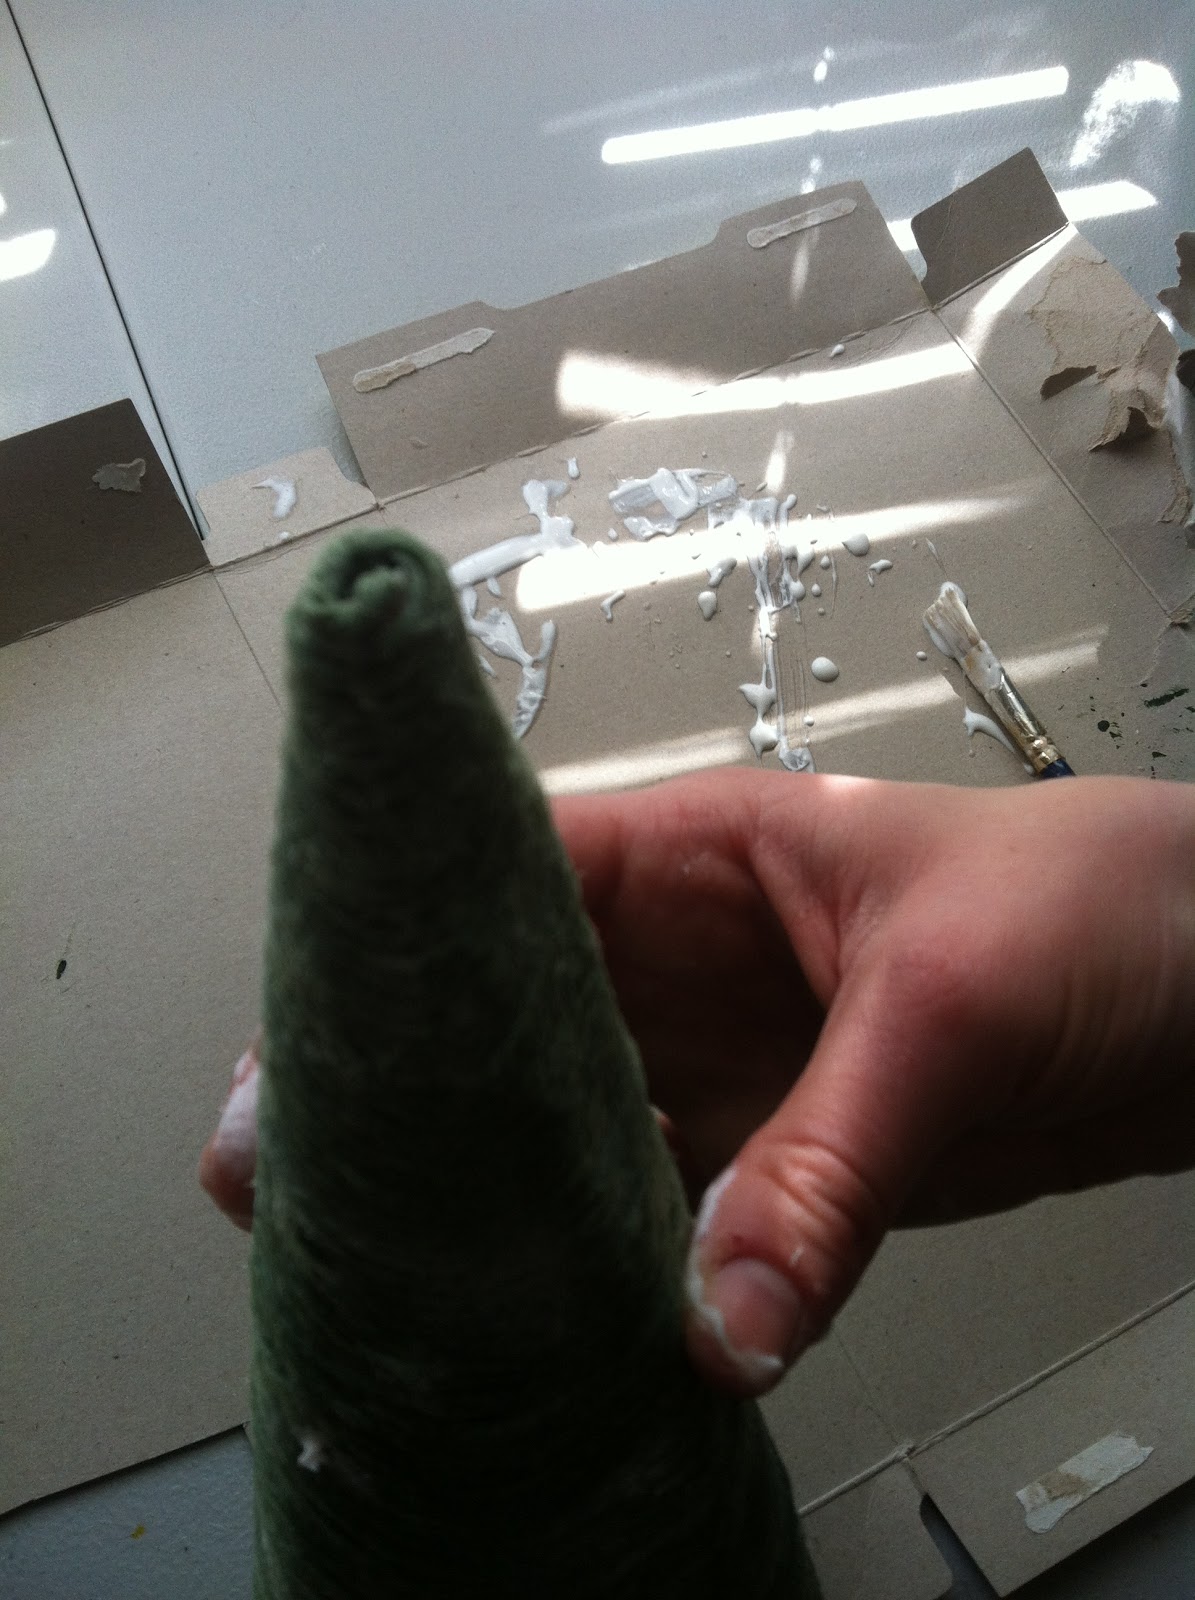
8. You should see the tail inside of the cone, hanging like this.


9. Ta-da! Let the tree dry for a few hours and go peel the 8 extra layers of glue "skin" off of your fingers. 


I added a snowflake button to the top of mine to hide the lumpy top. Cone tree found a nice home next to my sticks in a vase with fake cranberries, our snowman candle from Holland House Candles and a snowman figurine my mom donated to the cause a few years ago. PS: whoever designed the dry bar in my house obviously was male because it's SO awkward and impossible to decorate nicely.


Wednesday, November 28, 2012

Joy Sign


Lately I've been hearing the word "joy" a lot. I'm not really sure why, but I've always just associated joy with Christmas. Joy is something that we should be experiencing on a daily basis, though. Yes, we should be filled with joy around Christmas as we celebrate the birth of Jesus, but shouldn't we also be filled with joy each day as we celebrate all of the simple gifts God has blessed us with? Just waking up in the morning should fill us with joy, although I know my mornings generally do not reflect that my heart is filled with joy. I wanted to make a sign for my Christmas mantle and I thought that seeing "JOY" every day might remind me to stop letting earthly things get in the way of my joy. A little JOY for my home...


What you'll need:
- 3-D wooden letters (Hobby Lobby)
- Paint
- Mod Podge (or a 50/50 mix of Elmer's and water)
- Paint Brush
- Scrapbook Paper
- Pencil
- Scissors

How to:
1. Paint the edges of the letters, let dry. I did two coats on mine to get a rich color.


2. Lay the letter face down on the wrong side of a piece of scrapbook paper. Trace around the inner-most part of the letter. (I used 3-D letters from Hobby Lobby so mine had a carved edge and a smaller "face" for the front of the letter than the whole piece itself.)


3. Cut out the letter from the paper.
4. Slather some decoupage on back of the paper then carefully lay it onto the face of the letter. Slather the top of the paper with decoupage too.


Tuesday, November 27, 2012

Pinecone Christmas Trees

This might be the easiest project ever. It would be great to do with kids, too. Take them on a pinecone hunt to find the supplies!

What you'll need:
- Pinecones (flat bottomed pinecones work best for this project since they will need to stand up on their own)
- Cardboard (boxboard from a cereal box works great for this)
- Marker (I used a metallic marker)
- Glue (Elmer's works fine)

How to:
1. Draw a star on the non-printed side of your cardboard. Fold the cardboard in half and cut out the star so that you cut two identical stars at once. Glue the printed sides of the cardboard together and let dry.
2. Color both sides of the star with the marker, making sure to color the edges too. 
3. Place star on top of pinecone, glue it on or just let it sit free. 

I added fake cranberries to one of my "trees," so things like sequins, glitter, gemstones, etc. would make fun personalized touches!