Our oldest daughter LOVED her quiet book that I made her for her first birthday, so it seemed appropriate to make little girl #2 a book of her very own for Christmas last year. I didn't take pictures of it when I finished it, so the pictures below are of her quiet book with lots of loving.

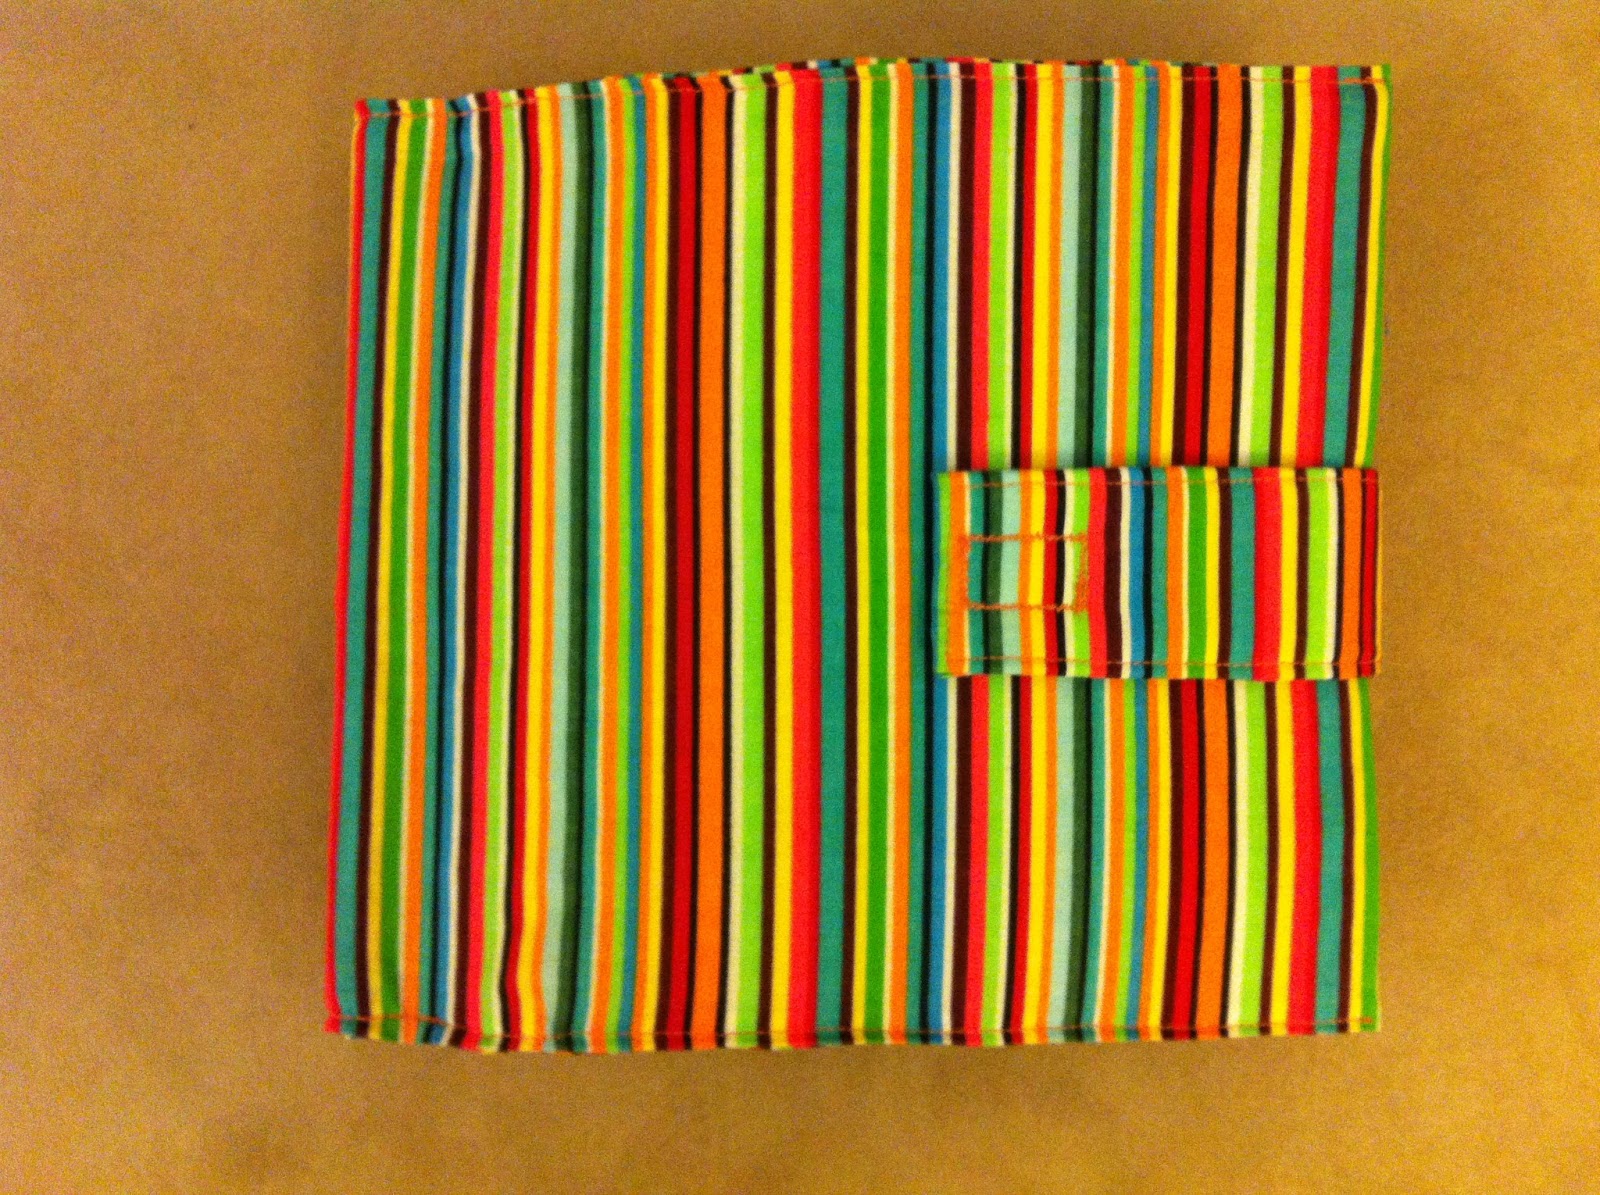
I opted to use a grommet and binder ring binding for this one as it was all very tactile and too thick to sew the pages together on my machine as I have done in the past. It wasn't what I wanted, but has worked out fine.

This is her name puzzle/tying page. The letters all have velcro so she can move them around and learn how to spell her name. The ribbon on the shoe is able to be tied and untied and the flowers on the shoe stick off the page so she can feel them. Tiny LOVES anything tactile.
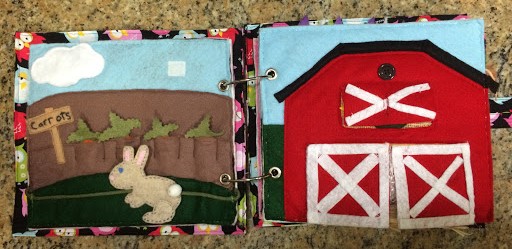
This is the "farm" page spread. The bunny moves along the string (actually it's 550 paracord) and the barn opens at the doors and hayloft.

The carrots pull up out of the soil, but are attached to the page by a string. The cloud hides rain drops that pull down to "water" the carrots. There was a sunshine on the naked piece of velcro, but I have no idea where it disappeared to. The bunny has a pompom for a tail, so it's soft, and it "hops".

Open the barn doors and pet the sheep! I used some left over fake fur fabric from another project for the sheep and raffia for the "hay". The rooster has yarn for his head plume feathers and is hanging out on top of a burlap nest. The hayloft door swings up and buttons to stay open and teach Tiny how to button.

Oh the monkey. Tiny loves monkeys, so of course one had to make it into her book. The leaves are all felt and only sewn onto the page at the top so she can feel them. The bananas have velcro on the stems and attach to a hidden piece of velcro under the leaves. My leaves are not even kind of close to banana tree leaves, but oh well. It works.

The monkey's mouth "opens" and can eat the bananas. And of course, our monkey has a hair bow.

This is the dress up page. It's pretty basic.

Shape puzzle and pollinator pages.

The puzzle pieces are stored in this zippered compartment. They all have velcro on the back to stick on.

Bzzzzzzz. The bumble bee is made of pony beads and attached to a string at the beehive. The bee can be laced through the metal rings on each flower. The flowers are different layers of felt and a felted wool ball cut in half to give them texture. I sewed a few butterfly beads on as well and of course there is a removable (and not lost) sunshine to play with.

Clock and Ice Cream Parlor.

The clock is literally the same design as I used for my older daughter's book. I embroidered the numbers. The hands move around the button, but do not come off.

I scream, you scream, we all scream for...ICE CREAM! There are 6 different ice cream scoops with velcro on the back to pile onto the cone, whipped cream and a cherry to top it with, of course! All of the toppings store in the "ice cream" bag. The bunting was just a fun touch to make it look more like a party page because, well, ice cream!

Last, but certainly not least, the buckle skill page. AKA the Boston Terrier page.

As I did with my older daughter's, this is actually one of my dog's old collars. Yes, that's a Detroit Tigers dog collar. I attached that to the page so Tiny can practice buckling. There's a treat and a tennis ball to give to our doggy as well. If you look back through my posts and see the original design of this page, you'll notice that this version has a much rounder face. Such is life when you are an aging Boston Terrier.
All of the pages are 8 inches by 9 inches and are made on a felt backing. I cut a piece of interfacing to go in between the felt pages that had to go back to back and sewed them together with invisible thread. I had to do this part by hand. The pages each have 2 grommets for binding. I love that I could add to this one day since the binder rings open easily. Maybe one day.
Well, I hope you enjoyed my crappy iPhone pictures and lack of tutorials about how to recreate these pages. I wish I would have taken pictures as I made it, but I didn't even occur to me that I might one day resurrect this blog. As always, I tried to reuse and use as much of the fabric and felt stash as possible to make this.
Stay tuned for more awesome projects and ideas!