Showing posts with label Baby projects. Show all posts

Thursday, July 28, 2016

Tiny's Quiet Book

It's been a few years since I've updated this blog. Moves, another baby, lots and lots of house renovations... I finally have found some time to do projects again (woohoo!) so hopefully there will be many more updates soon.

Our oldest daughter LOVED her quiet book that I made her for her first birthday, so it seemed appropriate to make little girl #2 a book of her very own for Christmas last year. I didn't take pictures of it when I finished it, so the pictures below are of her quiet book with lots of loving.

I opted to use a grommet and binder ring binding for this one as it was all very tactile and too thick to sew the pages together on my machine as I have done in the past. It wasn't what I wanted, but has worked out fine.

This is her name puzzle/tying page. The letters all have velcro so she can move them around and learn how to spell her name. The ribbon on the shoe is able to be tied and untied and the flowers on the shoe stick off the page so she can feel them. Tiny LOVES anything tactile.
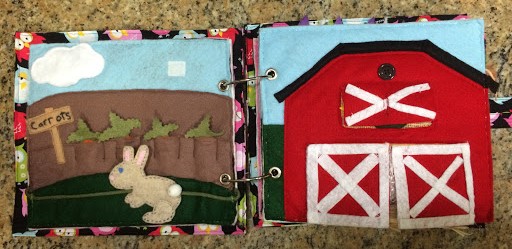
This is the "farm" page spread. The bunny moves along the string (actually it's 550 paracord) and the barn opens at the doors and hayloft. 

The carrots pull up out of the soil, but are attached to the page by a string. The cloud hides rain drops that pull down to "water" the carrots. There was a sunshine on the naked piece of velcro, but I have no idea where it disappeared to. The bunny has a pompom for a tail, so it's soft, and it "hops".

Open the barn doors and pet the sheep! I used some left over fake fur fabric from another project for the sheep and raffia for the "hay". The rooster has yarn for his head plume feathers and is hanging out on top of a burlap nest. The hayloft door swings up and buttons to stay open and teach Tiny how to button. 

Oh the monkey. Tiny loves monkeys, so of course one had to make it into her book. The leaves are all felt and only sewn onto the page at the top so she can feel them. The bananas have velcro on the stems and attach to a hidden piece of velcro under the leaves. My leaves are not even kind of close to banana tree leaves, but oh well. It works. 

The monkey's mouth "opens" and can eat the bananas. And of course, our monkey has a hair bow. 

This is the dress up page. It's pretty basic. 

Shape puzzle and pollinator pages.

The puzzle pieces are stored in this zippered compartment. They all have velcro on the back to stick on.

Bzzzzzzz. The bumble bee is made of pony beads and attached to a string at the beehive. The bee can be laced through the metal rings on each flower. The flowers are different layers of felt and a felted wool ball cut in half to give them texture. I sewed a few butterfly beads on as well and of course there is a removable (and not lost) sunshine to play with. 

Clock and Ice Cream Parlor.

The clock is literally the same design as I used for my older daughter's book. I embroidered the numbers. The hands move around the button, but do not come off. 

I scream, you scream, we all scream for...ICE CREAM! There are 6 different ice cream scoops with velcro on the back to pile onto the cone, whipped cream and a cherry to top it with, of course! All of the toppings store in the "ice cream" bag. The bunting was just a fun touch to make it look more like a party page because, well, ice cream!

Last, but certainly not least, the buckle skill page. AKA the Boston Terrier page. 

As I did with my older daughter's, this is actually one of my dog's old collars. Yes, that's a Detroit Tigers dog collar. I attached that to the page so Tiny can practice buckling. There's a treat and a tennis ball to give to our doggy as well. If you look back through my posts and see the original design of this page, you'll notice that this version has a much rounder face. Such is life when you are an aging Boston Terrier. 

All of the pages are 8 inches by 9 inches and are made on a felt backing. I cut a piece of interfacing to go in between the felt pages that had to go back to back and sewed them together with invisible thread. I had to do this part by hand. The pages each have 2 grommets for binding. I love that I could add to this one day since the binder rings open easily. Maybe one day.

Well, I hope you enjoyed my crappy iPhone pictures and lack of tutorials about how to recreate these pages. I wish I would have taken pictures as I made it, but I didn't even occur to me that I might one day resurrect this blog. As always, I tried to reuse and use as much of the fabric and felt stash as possible to make this. 

Stay tuned for more awesome projects and ideas! 

Tiny's Quiet Book

It's been a few years since I've updated this blog. Moves, another baby, lots and lots of house renovations... I finally have found some time to do projects again (woohoo!) so hopefully there will be many more updates soon.

Our oldest daughter LOVED her quiet book that I made her for her first birthday, so it seemed appropriate to make little girl #2 a book of her very own for Christmas last year. I didn't take pictures of it when I finished it, so the pictures below are of her quiet book with lots of loving.

I opted to use a grommet and binder ring binding for this one as it was all very tactile and too thick to sew the pages together on my machine as I have done in the past. It wasn't what I wanted, but has worked out fine.

This is her name puzzle/tying page. The letters all have velcro so she can move them around and learn how to spell her name. The ribbon on the shoe is able to be tied and untied and the flowers on the shoe stick off the page so she can feel them. Tiny LOVES anything tactile.

This is the "farm" page spread. The bunny moves along the string (actually it's 550 paracord) and the barn opens at the doors and hayloft. 

The carrots pull up out of the soil, but are attached to the page by a string. The cloud hides rain drops that pull down to "water" the carrots. There was a sunshine on the naked piece of velcro, but I have no idea where it disappeared to. The bunny has a pompom for a tail, so it's soft, and it "hops".

Open the barn doors and pet the sheep! I used some left over fake fur fabric from another project for the sheep and raffia for the "hay". The rooster has yarn for his head plume feathers and is hanging out on top of a burlap nest. The hayloft door swings up and buttons to stay open and teach Tiny how to button. 

Oh the monkey. Tiny loves monkeys, so of course one had to make it into her book. The leaves are all felt and only sewn onto the page at the top so she can feel them. The bananas have velcro on the stems and attach to a hidden piece of velcro under the leaves. My leaves are not even kind of close to banana tree leaves, but oh well. It works. 

The monkey's mouth "opens" and can eat the bananas. And of course, our monkey has a hair bow. 

This is the dress up page. It's pretty basic. 

Shape puzzle and pollinator pages.

The puzzle pieces are stored in this zippered compartment. They all have velcro on the back to stick on.

Bzzzzzzz. The bumble bee is made of pony beads and attached to a string at the beehive. The bee can be laced through the metal rings on each flower. The flowers are different layers of felt and a felted wool ball cut in half to give them texture. I sewed a few butterfly beads on as well and of course there is a removable (and not lost) sunshine to play with. 

Clock and Ice Cream Parlor.

The clock is literally the same design as I used for my older daughter's book. I embroidered the numbers. The hands move around the button, but do not come off. 

I scream, you scream, we all scream for...ICE CREAM! There are 6 different ice cream scoops with velcro on the back to pile onto the cone, whipped cream and a cherry to top it with, of course! All of the toppings store in the "ice cream" bag. The bunting was just a fun touch to make it look more like a party page because, well, ice cream!

Last, but certainly not least, the buckle skill page. AKA the Boston Terrier page. 

As I did with my older daughter's, this is actually one of my dog's old collars. Yes, that's a Detroit Tigers dog collar. I attached that to the page so Tiny can practice buckling. There's a treat and a tennis ball to give to our doggy as well. If you look back through my posts and see the original design of this page, you'll notice that this version has a much rounder face. Such is life when you are an aging Boston Terrier. 

All of the pages are 8 inches by 9 inches and are made on a felt backing. I cut a piece of interfacing to go in between the felt pages that had to go back to back and sewed them together with invisible thread. I had to do this part by hand. The pages each have 2 grommets for binding. I love that I could add to this one day since the binder rings open easily. Maybe one day.

Well, I hope you enjoyed my crappy iPhone pictures and lack of tutorials about how to recreate these pages. I wish I would have taken pictures as I made it, but I didn't even occur to me that I might one day resurrect this blog. As always, I tried to reuse and use as much of the fabric and felt stash as possible to make this. 

Stay tuned for more awesome projects and ideas! 
Sunday, July 21, 2013

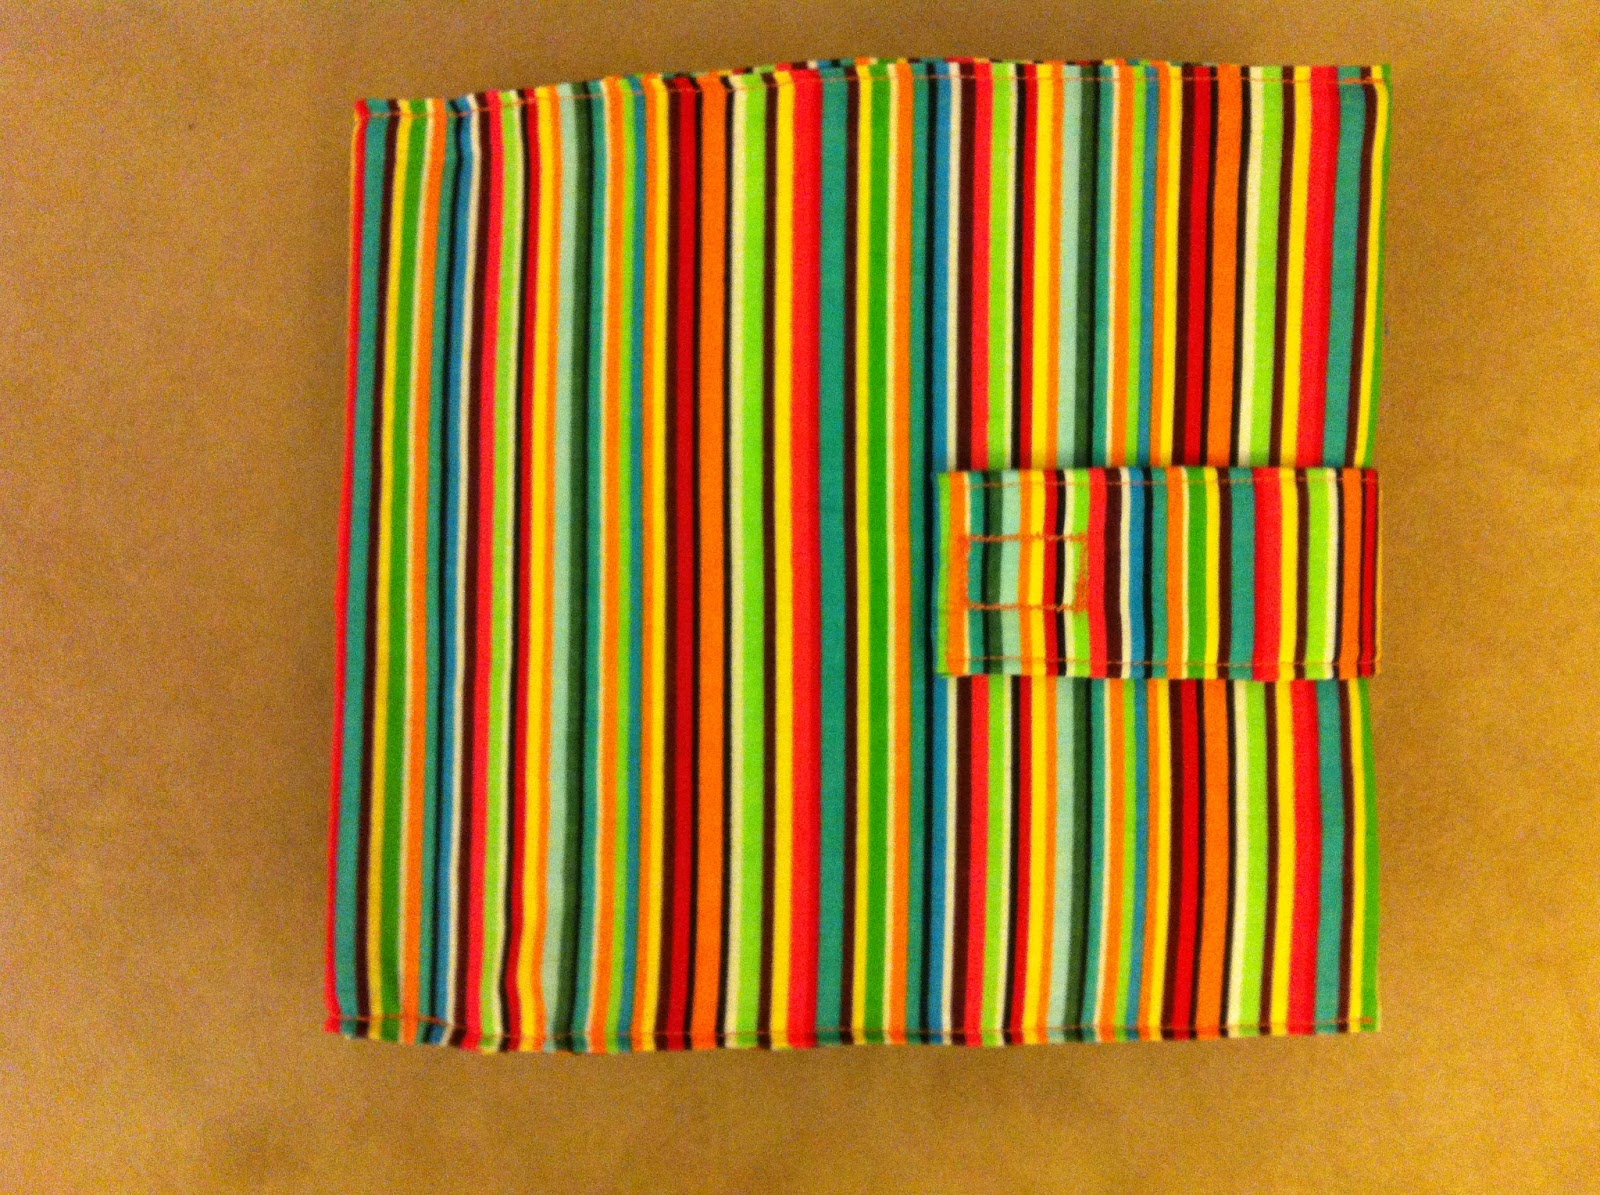
Little Man Busy Book

My nephew will turn one in a few months and since my baby bear loved the busy book I made for her first birthday so much, I decided to take one on for this little guy, too. I just finished it and will not be posting tutorials on how to make it, but here are pictures of the pages that might serve as inspiration for your own busy book.


I hope he likes it! Feel free to comment with any questions you may have about how any pages were done. I'd be glad to help, I just don't have time to write a full post right now!

Monday, May 7, 2012

Hydrangea Hair Bow

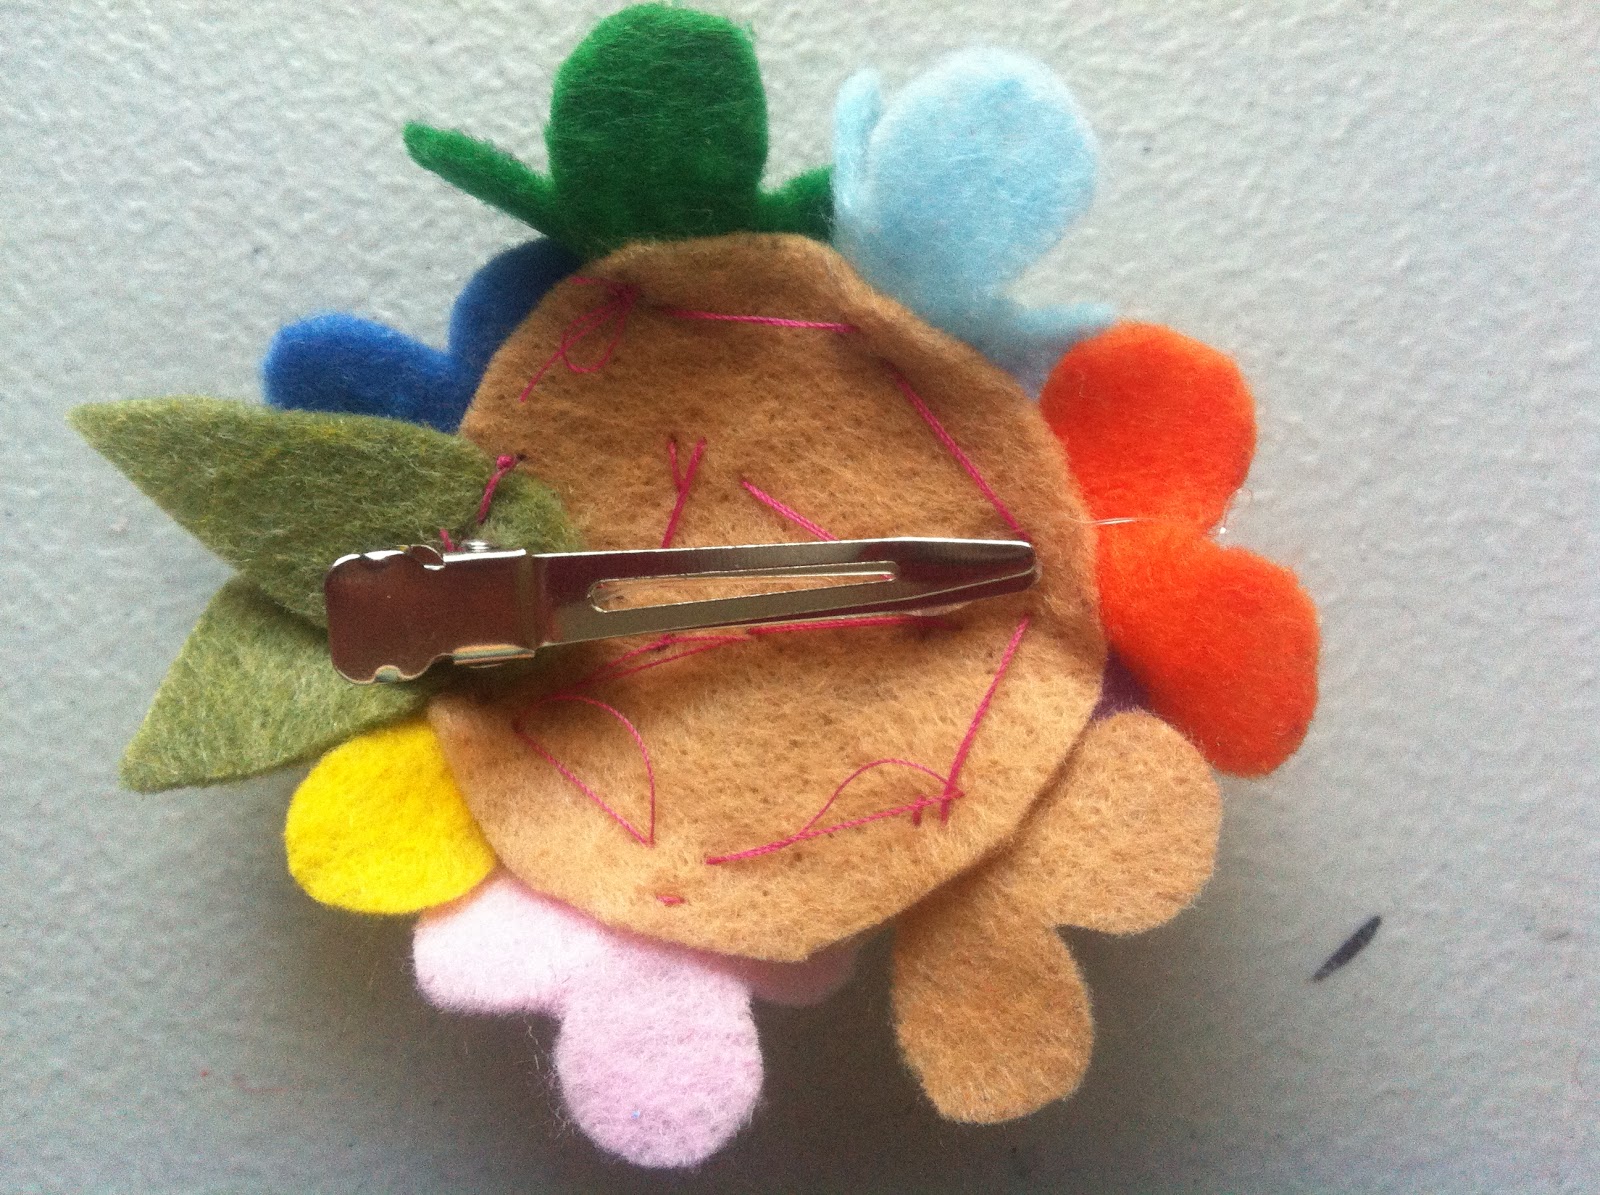
Now that we're well into spring, its warm enough for baby bear to wear her colorful spring and summer clothes. A new wardrobe calls for new hair bows!! I still have a TON of left over felt from the quiet book project so I decided that the new accessories would be felt flowers. I'll post another type of felt flower that I made later when I have an extra few minutes!


Felt Hydrangea Hair Clip
Materials:
- Felt, green and another color (one or more colors, depending on what color combination you want)
- Alligator clip
- needle and thread
- scissors
- flower stencil or artistic skill
- hot glue

1. Trace or freehand a four petal flower onto the felt. You will want about 12-14 individual flowers total. Cut the flowers out. 

2. Cut a circle out of the felt, about 3" in diameter. Also cut 2-3 one inch long leaves out of some green felt.

3. Sew each flower onto the circle by sewing a small x in the center of the flower. Some flowers will have to be squished and overlap a little bit, but that's ok. It will give the whole flower a final look. 

4. Sew the leaves onto the back of the flower, letting them peek out from behind the flowers as much or little as you like. 

5. Using hot glue, attach the alligator clip. Or, to make this a head band, sew the flower onto a stretchy head band, then glue a piece of felt onto the back to secure the flower to the head band. 

Monday, March 26, 2012

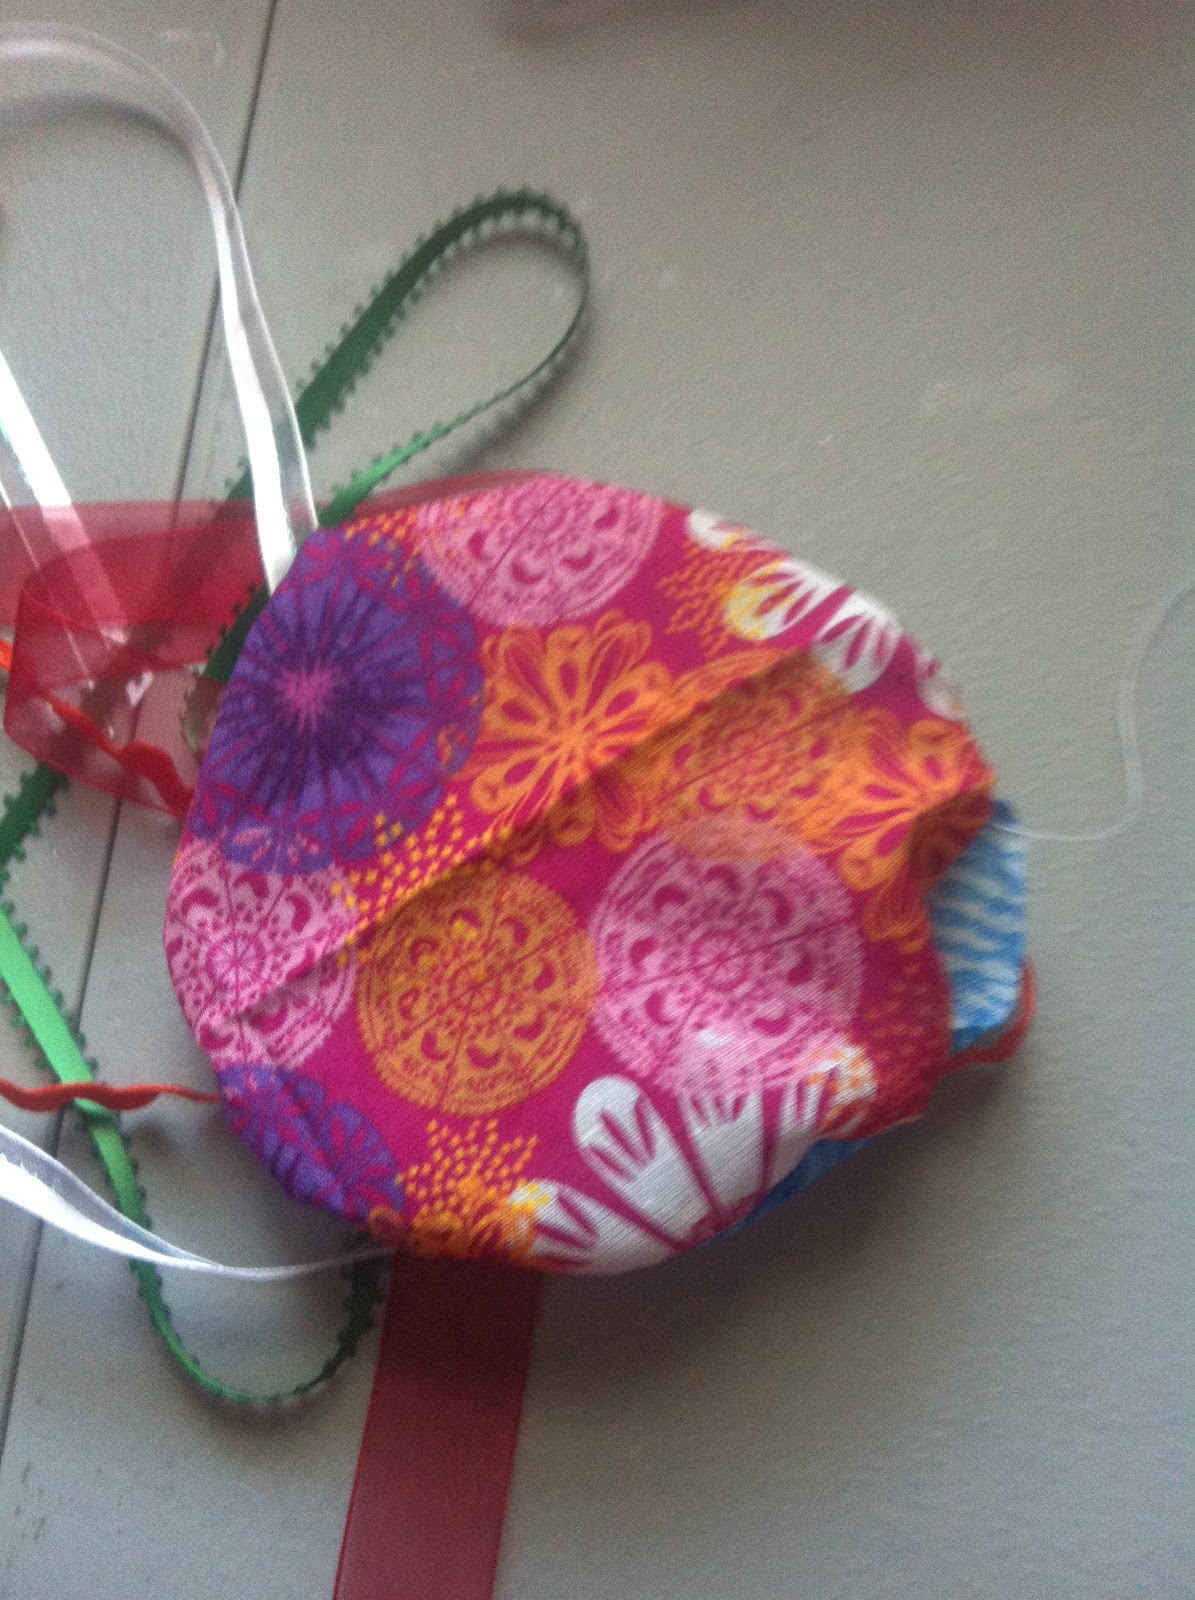
Whimsical Jellyfish Softies

Pinterest strikes again... I saw this idea on Pinterest, but it is absolutely perfect for my baby bear! We have turned our formal dining room into a playroom with the idea that this space is a safe and inviting place for the baby to crawl around and explore. I've been struggling to come up with ideas of how to decorate the space and make it a more friendly area. Baby bear loves sea creatures, so this project seemed like the perfect solution!


Jellyfish Softies
Materials:
- Fabric Scraps (or if you are like me and don't have a stash, fat quarters work great!)
- Ric Rac
-Ribbon (at least 3 different types),  30 inches each piece
- Needle and thread or sewing machine
- Stuffing
- Something circular to use as a patter, about 5-6 inches in diameter, depending on what size you want to make


How To:
1. Trace two circles onto a piece of fabric and cut them out.


2. Cut a piece of ric rac about 24 inches long and find the middle.
3. Using the front side of the fabric, find the middle of the circle and sew the ric rac on from it's middle to the middle of the fabric circle.
4. Cut 2-3 pieces of ribbon to about 30 inches, find the middle of each piece, then sew onto the fabric circle in the same place as the ric rac.


5. Place the ribbon adorned fabric circle ribbon side up on a flat surface. Place the other fabric circle printed/front side down on top of the ribbon, matching up the edges. Gather the ribbon ends to one side and pin the fabric together, leaving an opening for the ribbon to stick out.


6. Sew the fabric circles together along the edges. If you are doing this by hand, be sure to back stitch and use small stitches!
7. Sew around the circles, until you are to the ribbon. Turn the fabric inside out by putting all of the fabric through the hole with the ribbons. The printed side of both pieces of fabric should be showing after you do this, and the ribbons should be hanging freely from the bottom of the pouch.


8. Place stuffing into the pouch, stuffing it full so it is a nice hamburger shape.


9. Sew the open area of the pouch shut.


10. Cut another piece of ribbon to desired length for a hanger, if necessary. Sew this piece of ribbon onto the middle of the top of the jellyfish.


Easy enough? I plan on making a few more of these so Baby Bear has a whole school of jellies to look at :)