
Jellyfish Softies
Materials:
- Fabric Scraps (or if you are like me and don't have a stash, fat quarters work great!)
- Ric Rac
-Ribbon (at least 3 different types), 30 inches each piece
- Needle and thread or sewing machine
- Stuffing
- Something circular to use as a patter, about 5-6 inches in diameter, depending on what size you want to make

How To:
1. Trace two circles onto a piece of fabric and cut them out.


2. Cut a piece of ric rac about 24 inches long and find the middle.
3. Using the front side of the fabric, find the middle of the circle and sew the ric rac on from it's middle to the middle of the fabric circle.
4. Cut 2-3 pieces of ribbon to about 30 inches, find the middle of each piece, then sew onto the fabric circle in the same place as the ric rac.

5. Place the ribbon adorned fabric circle ribbon side up on a flat surface. Place the other fabric circle printed/front side down on top of the ribbon, matching up the edges. Gather the ribbon ends to one side and pin the fabric together, leaving an opening for the ribbon to stick out.


6. Sew the fabric circles together along the edges. If you are doing this by hand, be sure to back stitch and use small stitches!
7. Sew around the circles, until you are to the ribbon. Turn the fabric inside out by putting all of the fabric through the hole with the ribbons. The printed side of both pieces of fabric should be showing after you do this, and the ribbons should be hanging freely from the bottom of the pouch.

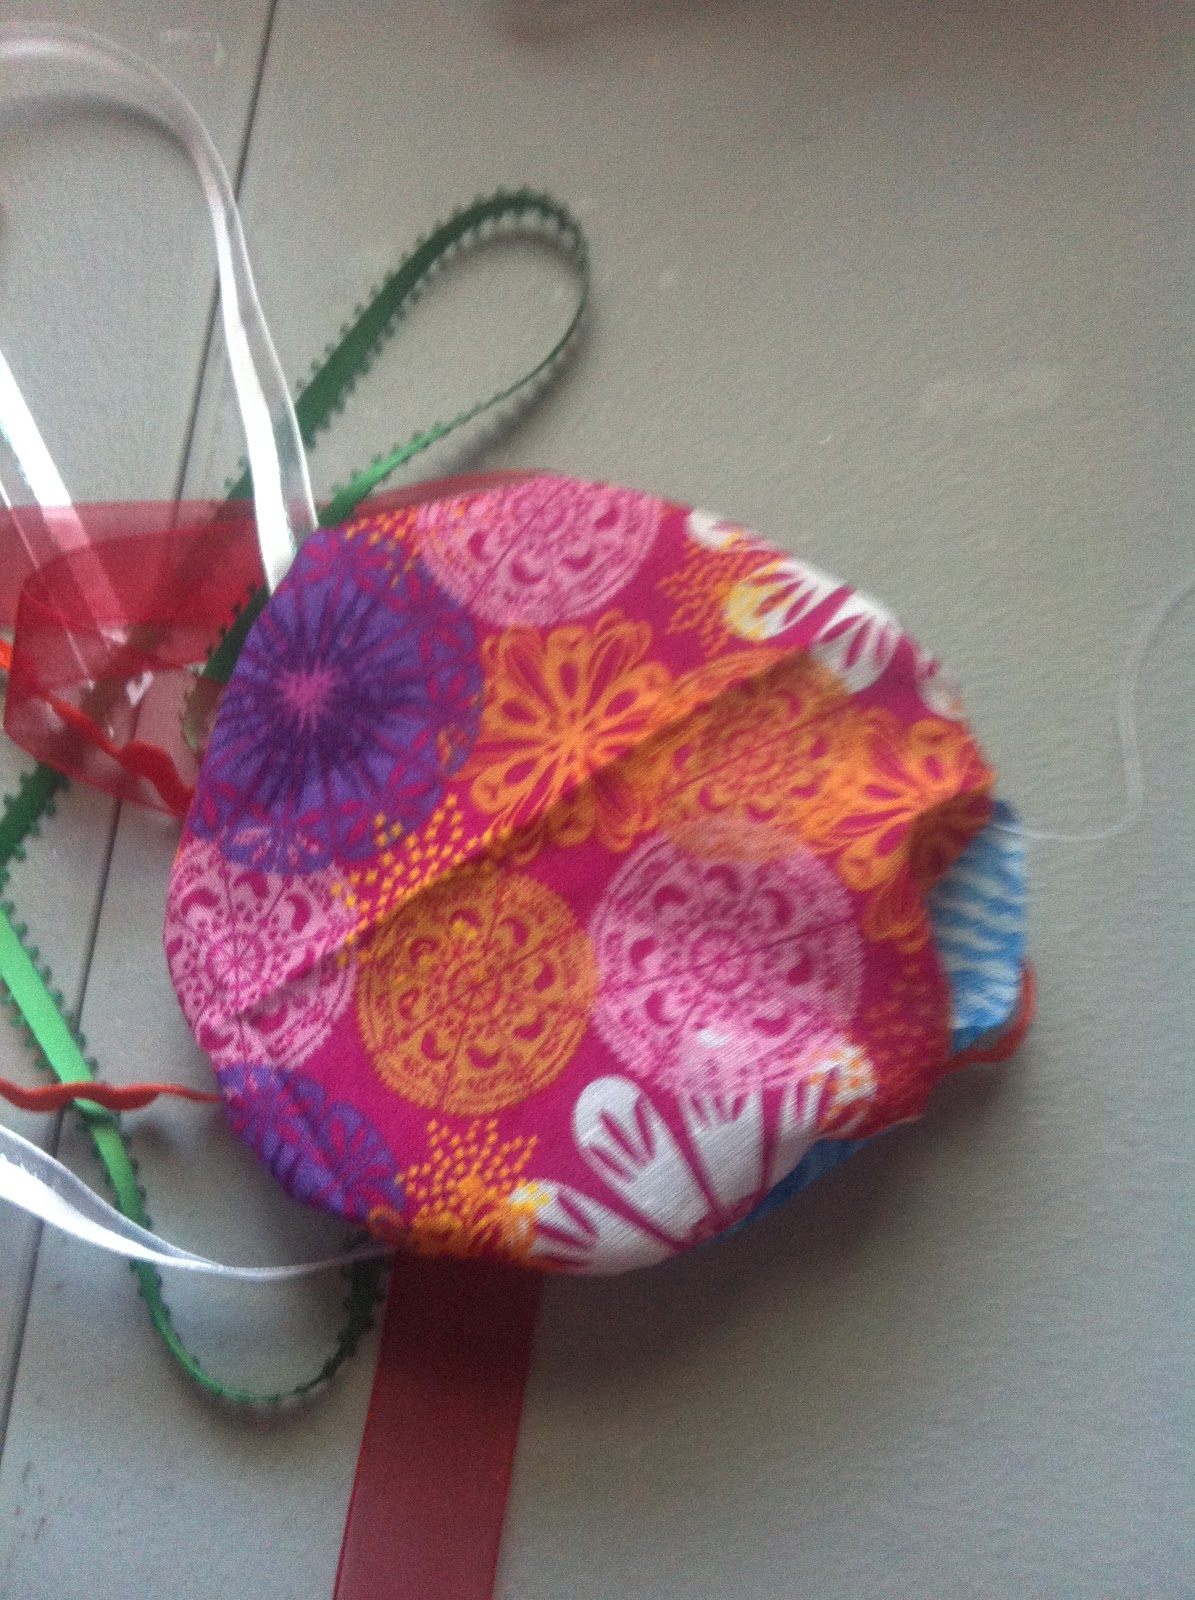
8. Place stuffing into the pouch, stuffing it full so it is a nice hamburger shape.

9. Sew the open area of the pouch shut.
10. Cut another piece of ribbon to desired length for a hanger, if necessary. Sew this piece of ribbon onto the middle of the top of the jellyfish.

Easy enough? I plan on making a few more of these so Baby Bear has a whole school of jellies to look at :)
