Showing posts with label Frugal. Show all posts

Tuesday, December 11, 2012

Cone Christmas Tree Made From Recycled Cardboard

If any of you use Pinterest, you've probably seen the super adorable cone Christmas trees all over it. I saw some last year and thought they were neat, but after looking at the cardboard cones at Hobby Lobby and seeing that they're kind of expensive for this project, I decided that if I wanted to make a cone tree, I better figure out how to make my own cone to use. Luckily I had some practice making cones (I'll post the project later) for baby bear's first birthday party hats. Being an avid recycler and tree-hugger, I have a bunch of boxboard hanging around in "limbo," waiting to be taken to the recycling center. Bam. Free cone. Here's the scoop:

What you'll need:
- Cardboard (I used a cereal box and got a 12" tree, so bigger box if you want a larger tree, smaller box for a smaller tree)
- Yarn/twine/something in the string family
- Modpodge
- Scissors
- Elmer's glue
- Paper clip/Binder clip

How to:
1. Cut open your box so it lays completely flat.

2. Cut off all of the little tab edges so you have a clean rectangle.


3. Fold two of the corners toward each other, keeping the printed side of the box to the inside and roll the rectangle into a cone. 


4. Unless you're an origami genius, you probably have a tail on the bottom of your cone like I ended up with. Cut that tail off and cut around the base of the cone so that you have an even base. 


5. Using your binder clip or heavy duty paper clip, secure the cone. Spread some glue into the seam, covering the whole height of the cone, and let it dry. 


6. Spread some modpodge around the base of the cone and start wrapping your spring around, pressing it into the modpodge and making sure that the edges of the string are touching with each layer you add. Keep adding modpodge and string until the entire cone has been wrapped.

7. Cut the string from the ball/spool about 4" from where it ends on the cone to leave a tail. Put the tail through the little opening at the top.
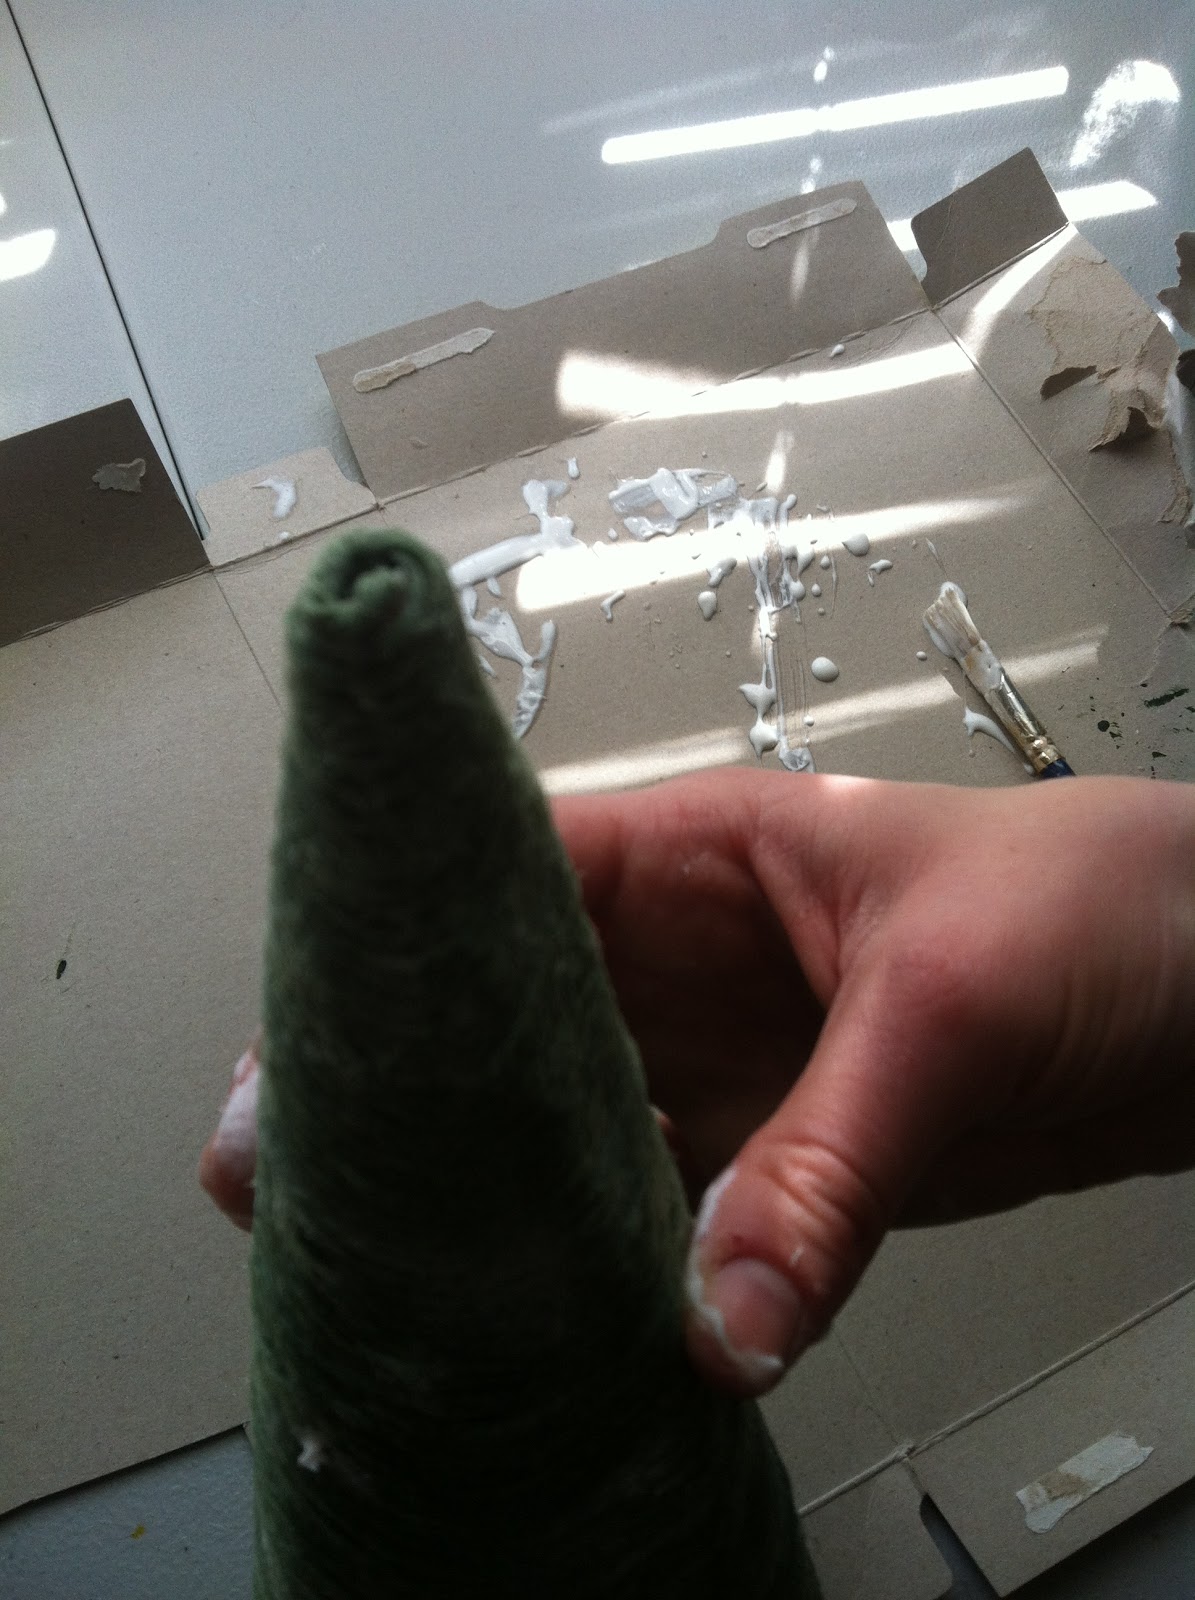
8. You should see the tail inside of the cone, hanging like this.


9. Ta-da! Let the tree dry for a few hours and go peel the 8 extra layers of glue "skin" off of your fingers. 


I added a snowflake button to the top of mine to hide the lumpy top. Cone tree found a nice home next to my sticks in a vase with fake cranberries, our snowman candle from Holland House Candles and a snowman figurine my mom donated to the cause a few years ago. PS: whoever designed the dry bar in my house obviously was male because it's SO awkward and impossible to decorate nicely.


Wednesday, November 28, 2012

Joy Sign


Lately I've been hearing the word "joy" a lot. I'm not really sure why, but I've always just associated joy with Christmas. Joy is something that we should be experiencing on a daily basis, though. Yes, we should be filled with joy around Christmas as we celebrate the birth of Jesus, but shouldn't we also be filled with joy each day as we celebrate all of the simple gifts God has blessed us with? Just waking up in the morning should fill us with joy, although I know my mornings generally do not reflect that my heart is filled with joy. I wanted to make a sign for my Christmas mantle and I thought that seeing "JOY" every day might remind me to stop letting earthly things get in the way of my joy. A little JOY for my home...


What you'll need:
- 3-D wooden letters (Hobby Lobby)
- Paint
- Mod Podge (or a 50/50 mix of Elmer's and water)
- Paint Brush
- Scrapbook Paper
- Pencil
- Scissors

How to:
1. Paint the edges of the letters, let dry. I did two coats on mine to get a rich color.


2. Lay the letter face down on the wrong side of a piece of scrapbook paper. Trace around the inner-most part of the letter. (I used 3-D letters from Hobby Lobby so mine had a carved edge and a smaller "face" for the front of the letter than the whole piece itself.)


3. Cut out the letter from the paper.
4. Slather some decoupage on back of the paper then carefully lay it onto the face of the letter. Slather the top of the paper with decoupage too.


Tuesday, June 19, 2012

DIY Extender Duster

I was mighty proud of myself for coming up with this contraption today to reach my vaulted ceilings for dusting. I'm sure many of you have already done this and are going to say "well duh!!" (Mom). I had been using my Dyson digital slim to vacuum the cobwebby ceiling corners, but after doing a few rooms and holding the vacuum up into the air for a few minutes at a time, my arms were really feeling it. Then it dawned on me, we have a lightweight yard stick and an already dirty Swiffer duster, so I could just rubber-band the duster onto the top of the yard stick... Don't judge me for using a disposable duster. The hubs and I both have HORRIBLE allergies, so trapping the dust and getting it out of the house is a must for us. It's the one and only not-so-eco-friendly cleaning thing I use. Anyways, here's a picture of the contraption:


I literally just folded a Swiffer duster pad in half, slid it onto the top of a yard stick, and rubber-banded it in place. This would also work with a broom handle and sock or any sort of cloth. Moral of the story: save yourself the $20 on the Swiffer Extender contraption thingy or whatever else they try to sell you to reach up into high places for dusting and just use what you have at your house. The environment will love you for it :) 

Thursday, June 7, 2012

Reusable "Paper" Towel

Between having a baby, dog and husband, I use lots of paper towel to clean up messes. To be fair, I'm probably the worst offender with the kitchen mess making, especially when the blender is involved in the project. When I realized that we're literally using a roll a week, which is unbelievably wasteful, I decided that it was time to do something about it. Pinterest yet again delivered with ideas for reusable paper towel, modified to meet my needs :) Since my needs usually call for a half-sheet of paper towel, I made mine in half-sheet size. I finished this project early this week and started using the cloth towels, and let me tell you, they ROCK. One sheet of Bounty doesn't have anything on terry cloth! I also made a wet bag to hang on my stove and collect the dirty towels until it's time to wash them.


Reusable Paper Towel
Materials:
- 1 1/2 yards of terry cloth material
- 1 1/2 yards of cotton material or flannel
- matching thread
- sew-on velcro
- scissors
- sewing machine

Instructions:
1. Wash and dry both pieces of fabric.

2. Cut 24 6" by 11" rectangles out of both types of fabric. Set the extra fabric aside for the wet bag. If you want full-sheet sized towels, make your pieces 12" by 11" and only cut 12 of each fabric.

3. Match the rectangles up into pairs, one terry, one cotton. Place the printed side of the cotton face-up, pin together around the edges, then sew all of the way around the rectangles, leaving about a 1/8 allowance between the stitch and edge of the fabric.

4. Cut the velcro into 1" pieces. Lay the rectangle flat, cotton side up, short edges as top and bottom, and place two pieces of the same type of  velcro in the corners on the left side, one on the top corner, one on the bottom. Sew these on. Flip the towel over, place the opposite pieces of velcro in the corners on the left side of the terry cloth, sew on.

5. To make the wet bag, cut two 12" x 14" pieces of each type of fabric. Place one piece of terry cloth down, then a piece of cotton - print up on top of it. Set the other piece of cotton - face down onto the stack, then the other piece of terry cloth. Sew around 3 of the sides, then turn it inside out. Cut 4 16" x 3/4" strips of the cotton fabric. Roll each piece over onto itself 3 times, then sew it together. These will be the ties. Pin two ties into each side of the top of the bag. Sew the cotton to the terry around the top, securing the ties into the seem well.


6. Using an empty cardboard paper towel roll, mark where the velcro from the terry cloth side of the towels is. Glue the opposite type of velcro around the tube at both of the marks.

7. I had to rewash my towels at this point, since the terry cloth sheds a lot while cutting and sewing. If yours are ok, then you can attach your towels into a roll! Woohoo!


Monday, May 14, 2012

Homemade Composter

The hubs came up with this project idea while we were planning our garden for this summer. While our compost won't be ready to use this season, it will be a nutritious delight for our veggies next summer! This is an easy homemade composter made from some 2x4, a 5 gallon bucket with lid, L brackets, rollerblade wheels, and two thin poles. He constructed a rectangular base out of the 2x4s and drilled a few drainage holes in the bucket. Then he screwed L brackets into the inside of the bucket in 3 rows on diagonals. He put wheels on the poles with nuts to hold them in place and set them on top of the base. The bucket is placed on it's side and sealed with the lid. We give it a spin to stir it up every few days. There are a TON of resources for composting available through your local county extension. You need to have the right mix of green and brown materials for your compost to not smell terrible and be nutrient rich. Composting is a great way to keep some food waste out of the landfill and to boost your garden soil for free!


Sunday, April 29, 2012

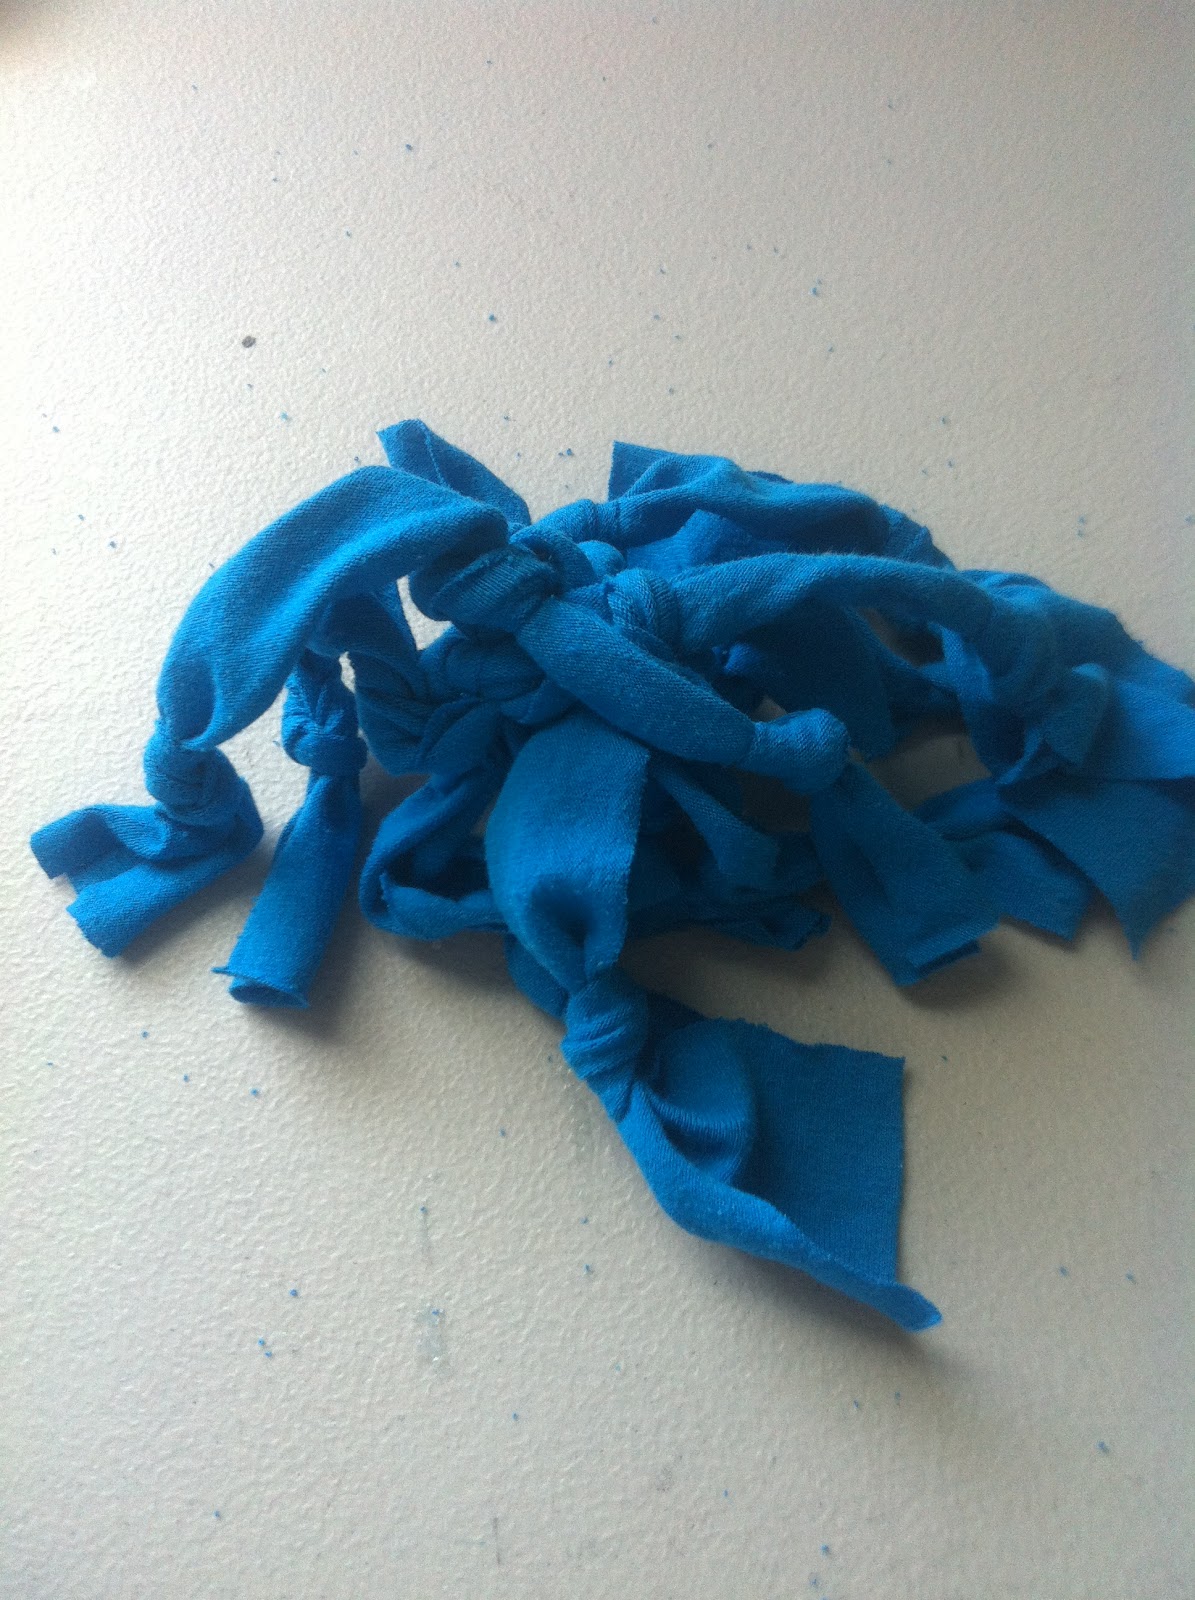
T-Shirt Dog Toy

My dog is a little ball of energy and personality. Actually, I'm not even sure that he is a dog some days. He's destroyed pretty much all of his toys except for the ones that can be used to play fetch with (convenient for him, since he's a fetch robot!). I refuse to buy him more chew toys since he ruins them in the first 5 minutes of ownership, so I thought that I would give making him one from a t-shirt a try. He's been chewing on it for the last little while, so I'd call it a win.


Recycled T-shirt Dog Toy
Materials:
- Scissors
- Old t-shirt (you could use one, or a few for different colors)
- Knot tying abilities

Directions:
1. Cut the old t-shirt into 1 inch think strips. I cut mine across from side to side. You'll want to cut at least 8 strips, but more than 8 would definitely make the toy better!

2. Take one strip, make it into a loop and tie a knot in it, leaving the loop.

3. Feed another strip through the loop from step 2, then tie it in a knot to secure it. 

4. Feed the rest of the strips, one at a time, through the original loop, then tie a knot in each to secure it to the rest. It should kind of look like a ball where the knots are, with lots of tails hanging off. 

5. Tie a knot in each of the "tails." Dogs like to chew on knots, it's science. Well not really, but it will add interest to the toy. 

6. Give the toy to your dog and let it go to town chewing! 


This toy doesn't have an adorable face to rip off, but it serves it purpose. If your animal is anything like mine, this is a great alternative to a rope, which they eat the string out of and risk causing serious digestive track injuries. The best part, it's free. Who doesn't love a free dog toy?

Sunday, April 22, 2012

Strawberry Freezer Jam

The hubs and I took baby bear strawberry picking yesterday! We figured we'd pick a bucket full or so to freeze for the off season. Well, we picked a bucket or so.. More like two heaping buckets weighing in at 12 pounds! What in the heck do you do with 12 lbs of strawberries?!?! I cut up 25 cups of them and used our foodsaver to seal them up well for freezing. I wanted to make some jam, but I've never made it before. I found this super easy recipe and I now have 6 pints of jam to add to the freezer strawberry collection! The recipe warns several times to "follow exactly," so I did. I can't say how it tastes, since it's still in the cooling process, but it looks delicious! I will say that it's a bright pink color that you can't get from processed jams you buy at the grocery store. Happy jamming!


Strawberry Freezer Jam
Ingredients:
- 2 cups of crushed, fresh strawberries
- 4 cups of sugar
- 3/4 cup water
- 1 box of pectin (I used Sure-Jell)
- 5 1-cup containers with lids


Yield: 5 cups of Jam


1. Wash, core and cut up the strawberries. Place them into a bowl and crush them with a potato masher, one cup at a time. 
2. Stir the sugar into the strawberries and allow it to sit for 10 minutes, stirring occasionally. Meanwhile, with boiling water, wash the containers and lids, then dry thoroughly.
3. In a saucepan over high heat, mix the water and pectin. Bring to a boil while stirring continuously, then boil for one minute, stirring continuously. 
4. Stir the pectin/water into the strawberries and stir continuously for 3 minutes, or until the sugar is mostly dissolved. 
5. Allow jam to stand for 3 minutes, then pour into containers. Leave 1/2 inch between the top of the jam and the top of the container to allow for expansion in the freezer. Wipe off the edges of the containers, then put the lids on.
6. Allow the jam to cool/set for 24 hours at room temperature. Store in the fridge for up to 3 weeks or in the freezer for up to 1 year.